General Configuration of the Data Collector
How do I configure a Data Collector to target a specific historian?
How the Collector Works#
The collector connects to a data source, broker, or server and discovers the tags you subscribe to. It then ensures it has connectivity to the designated historian instances and logs data to the configured dataset.
The Collector is able to ensure these tag metrics arrive by using store and forward. Should the network get disconnected or the historian become unavailable, the Collector will store all values to local disk. Upon reestablishment to the historian, all values will automatically be synched and real time logging will presume. Timebase Data Collectors handle ordering, deduplication, compression, and persistence automatically.
To Begin#
Open the Collector in a browser, at https://localhost:4522 on the machine that runs it, and sign in through Pulse. The Collectors page is the pinned tab: every collector instance on this host, grouped by its plugin type, with each row's dataset, status, tag count, buffer and uptime, a Start or Stop button, and an Edit button.
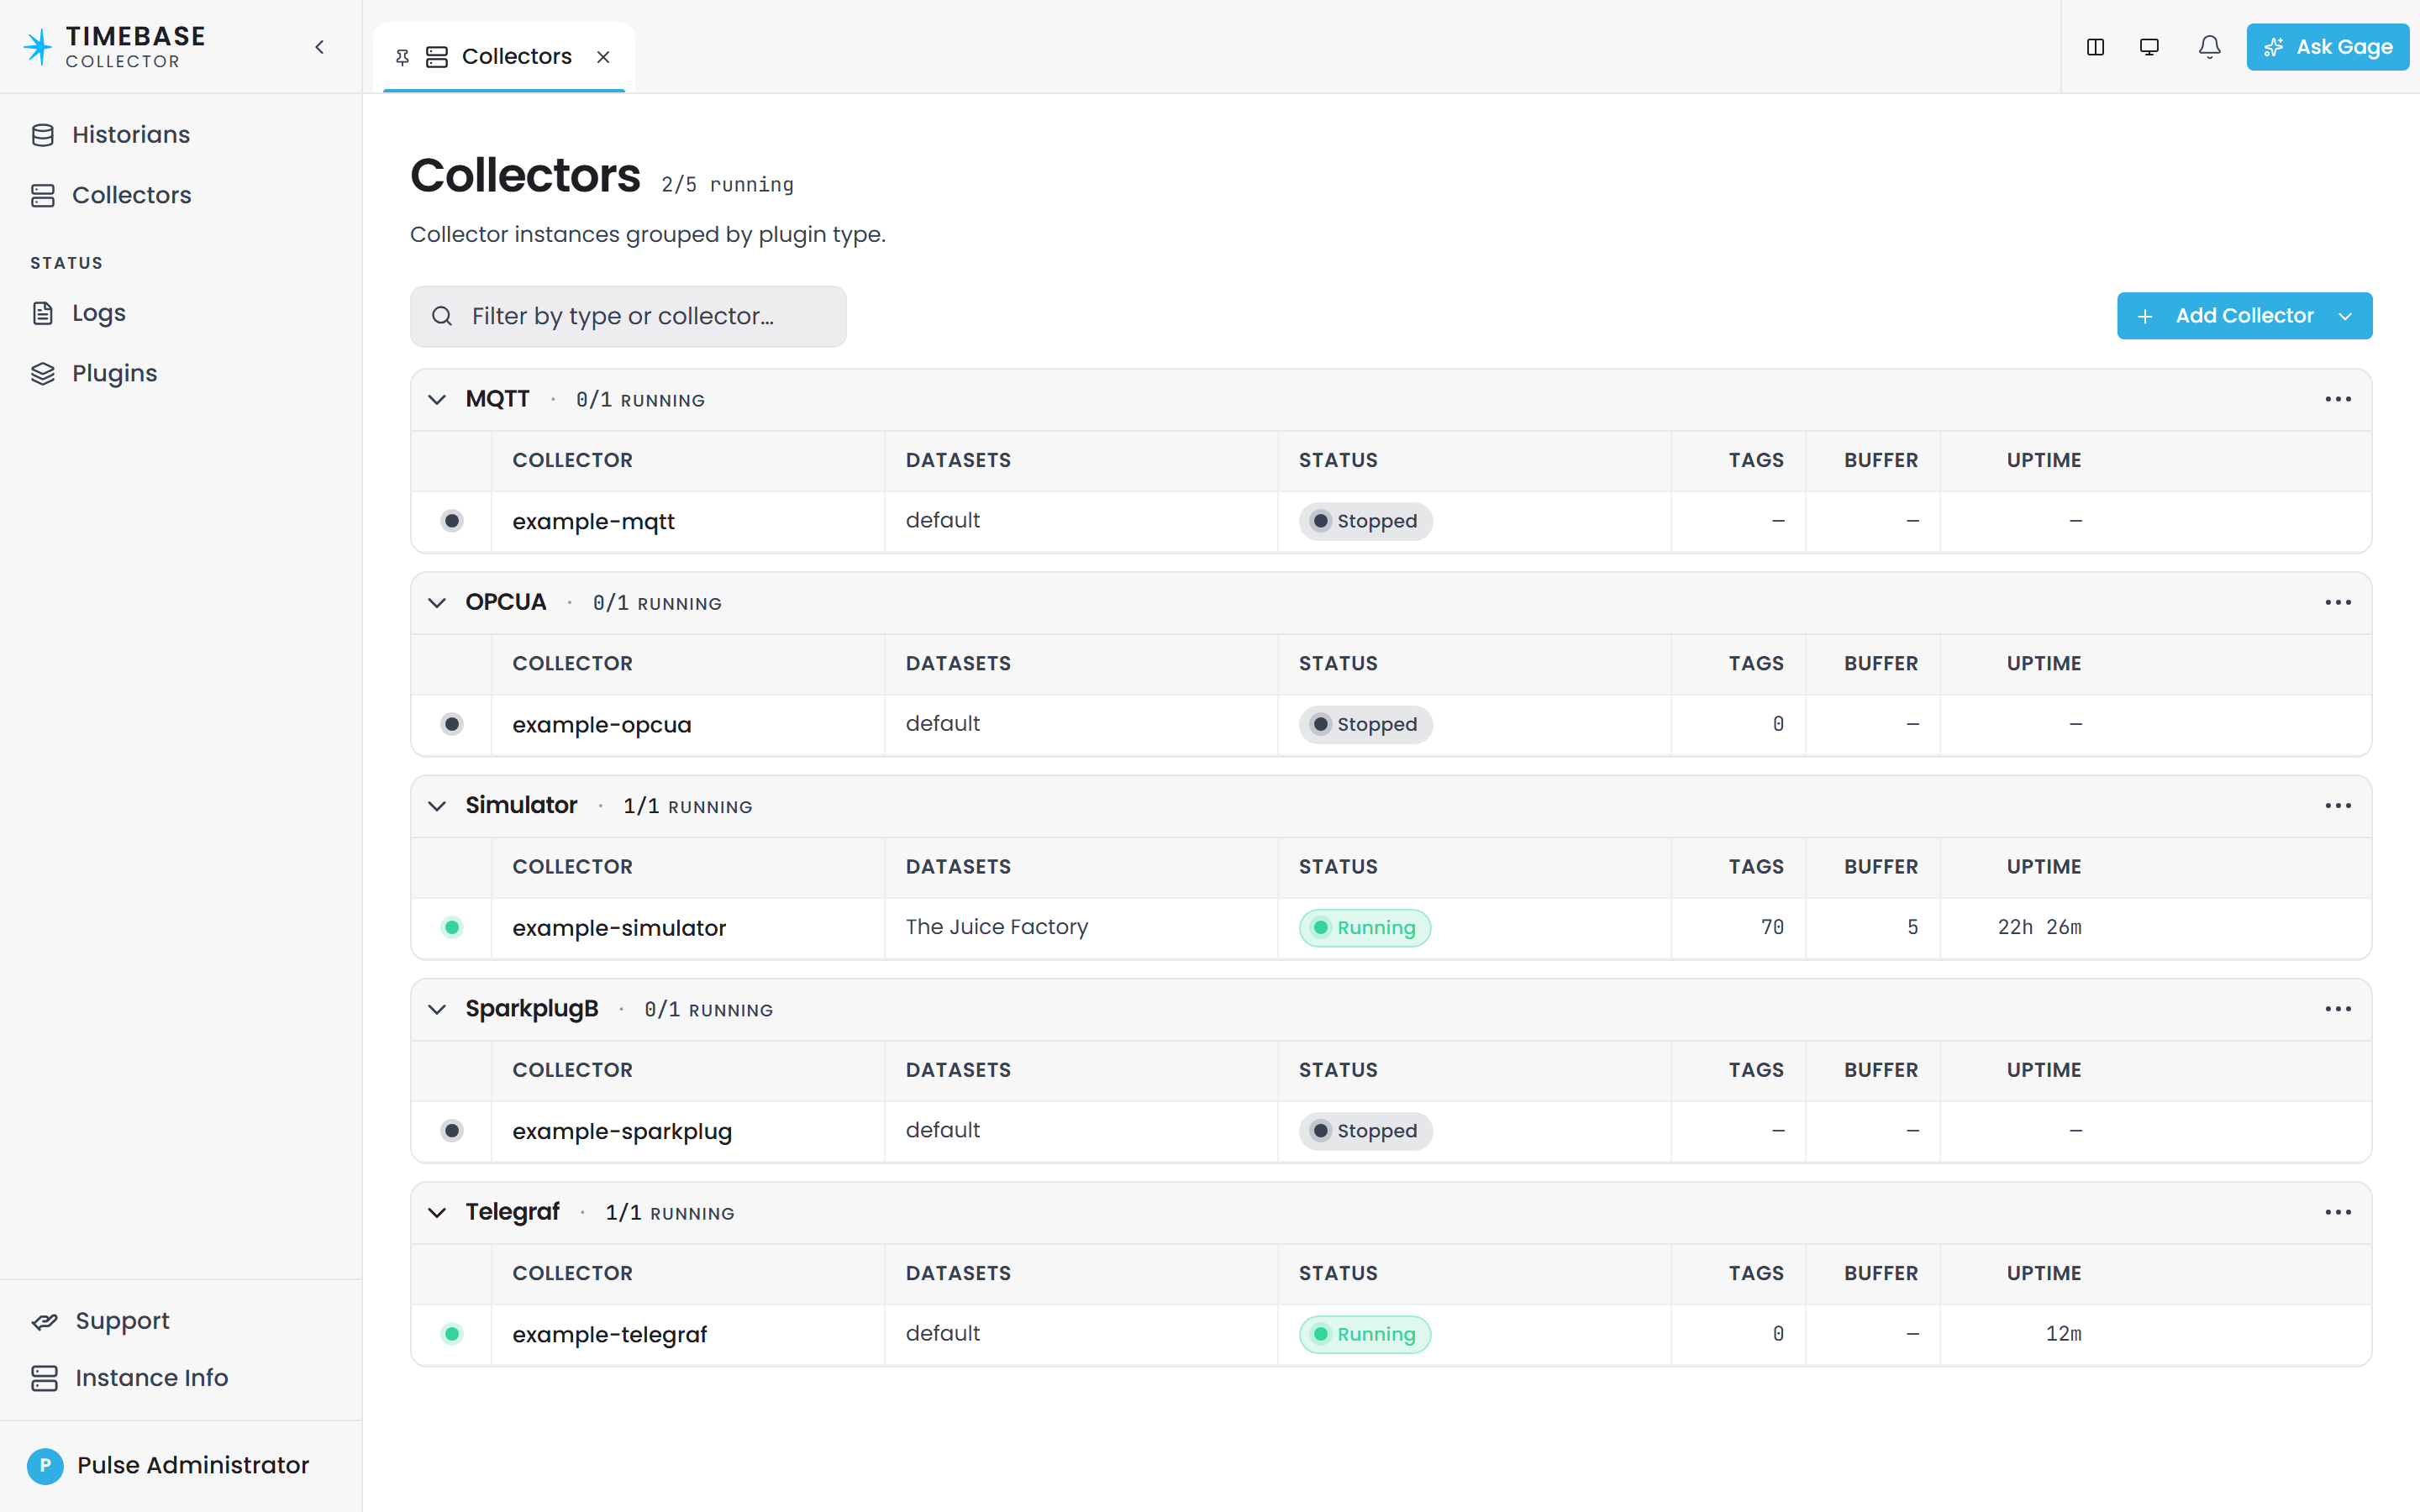
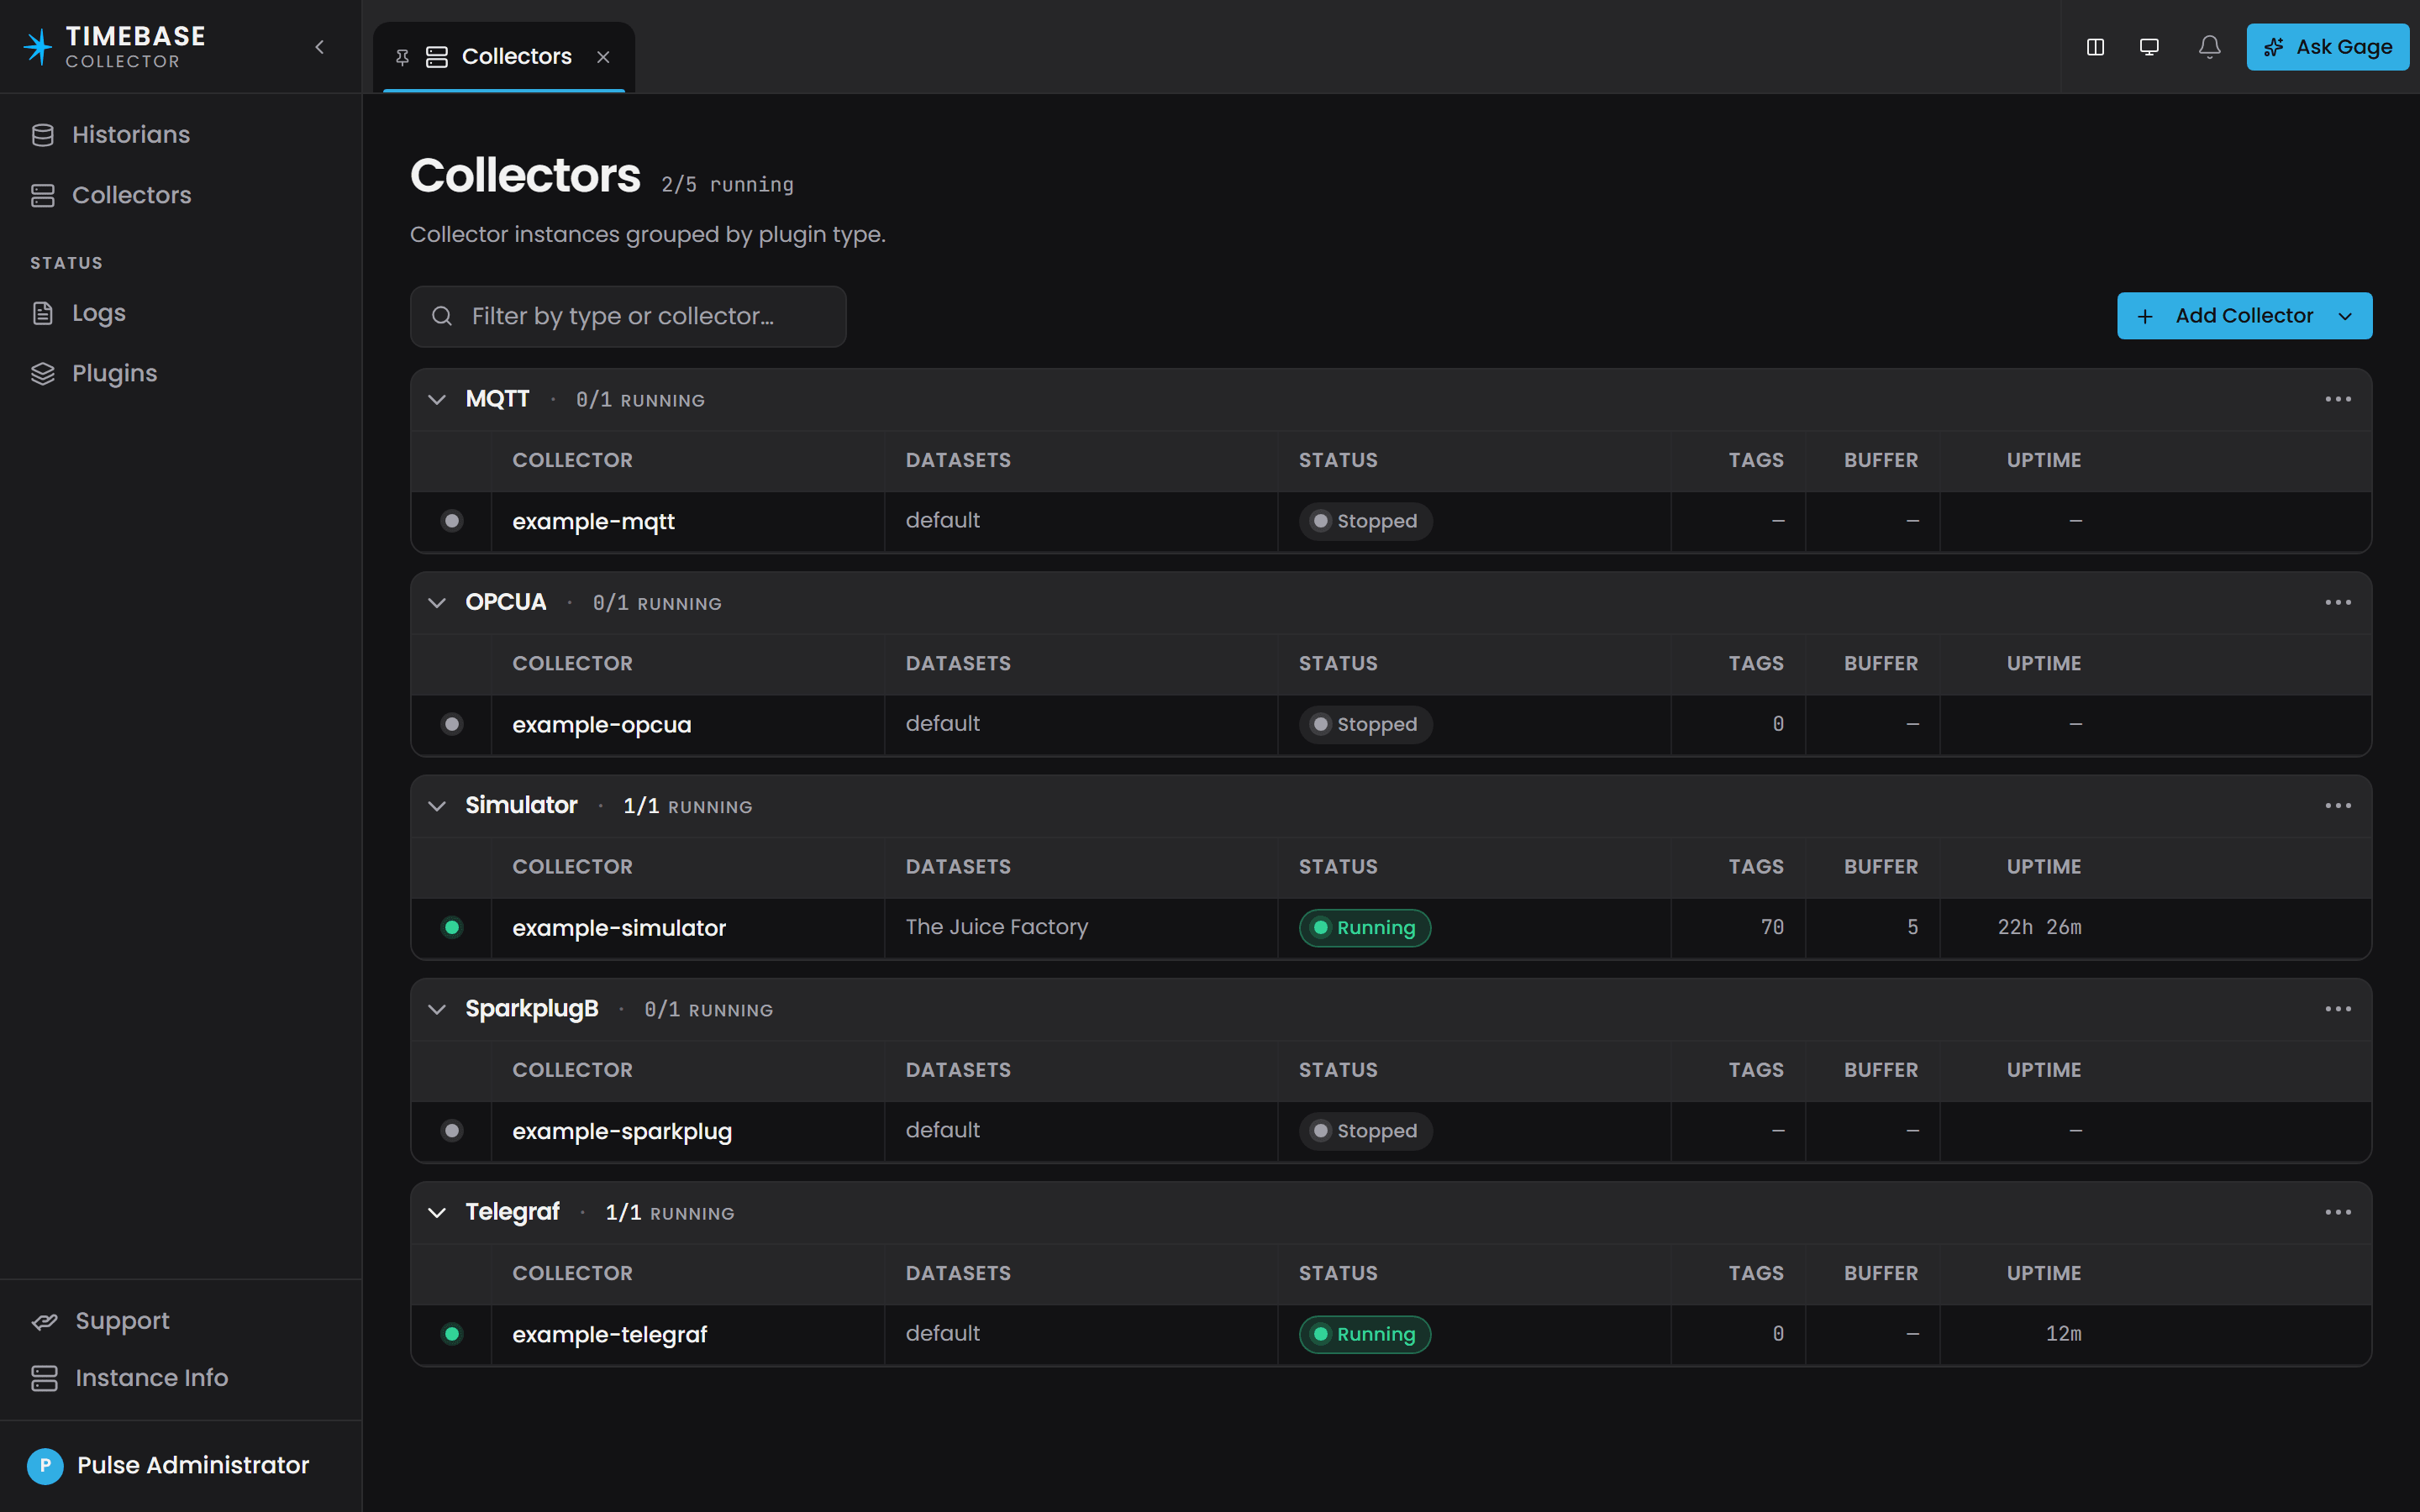
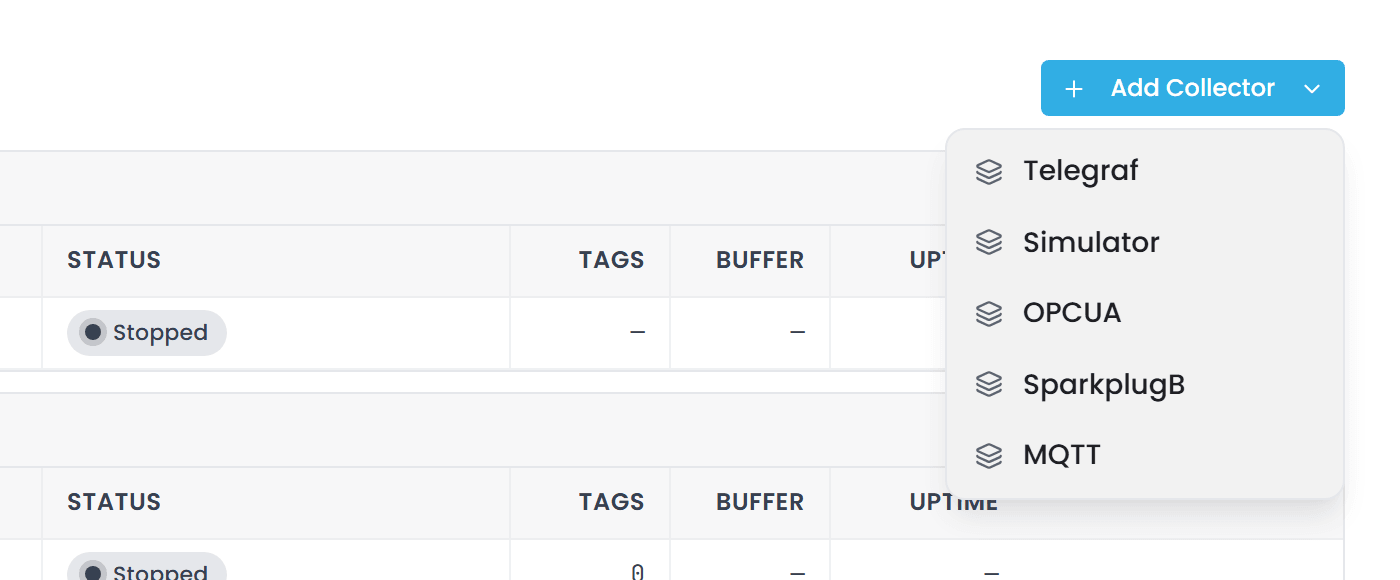
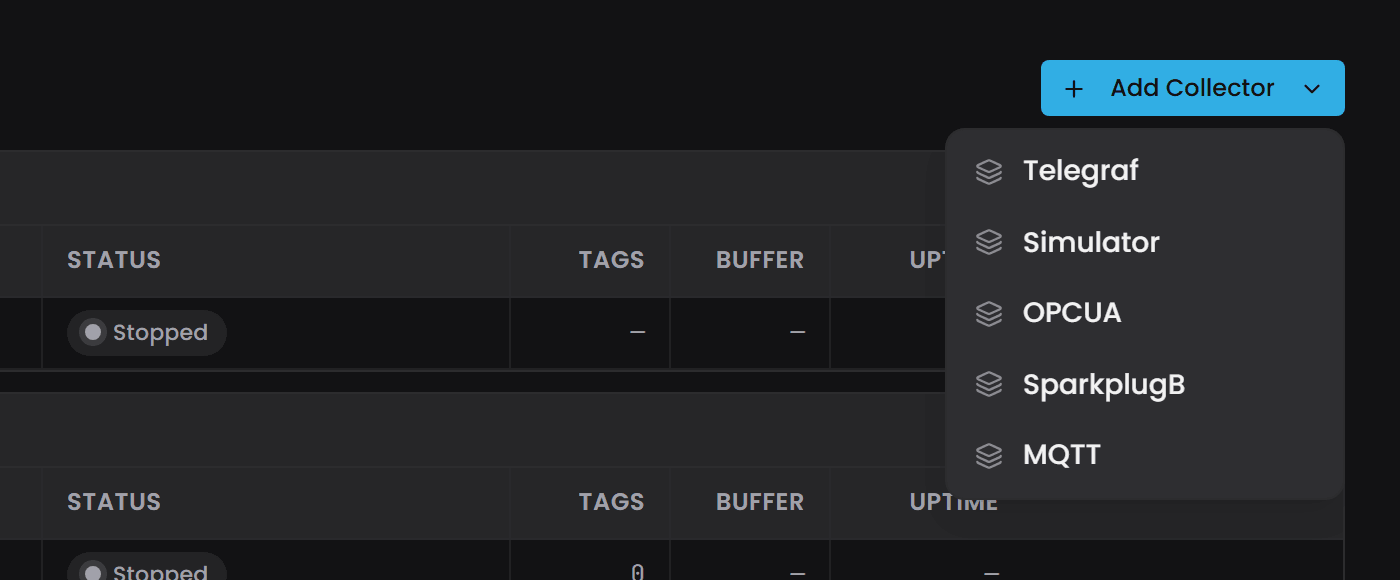
Add Collector lists the plugin types the host has found. Picking one creates an instance at once, with a generated name, switched off and seeded with that plugin's example settings. Open its Edit drawer to name it, fill in its settings and link it to a historian.
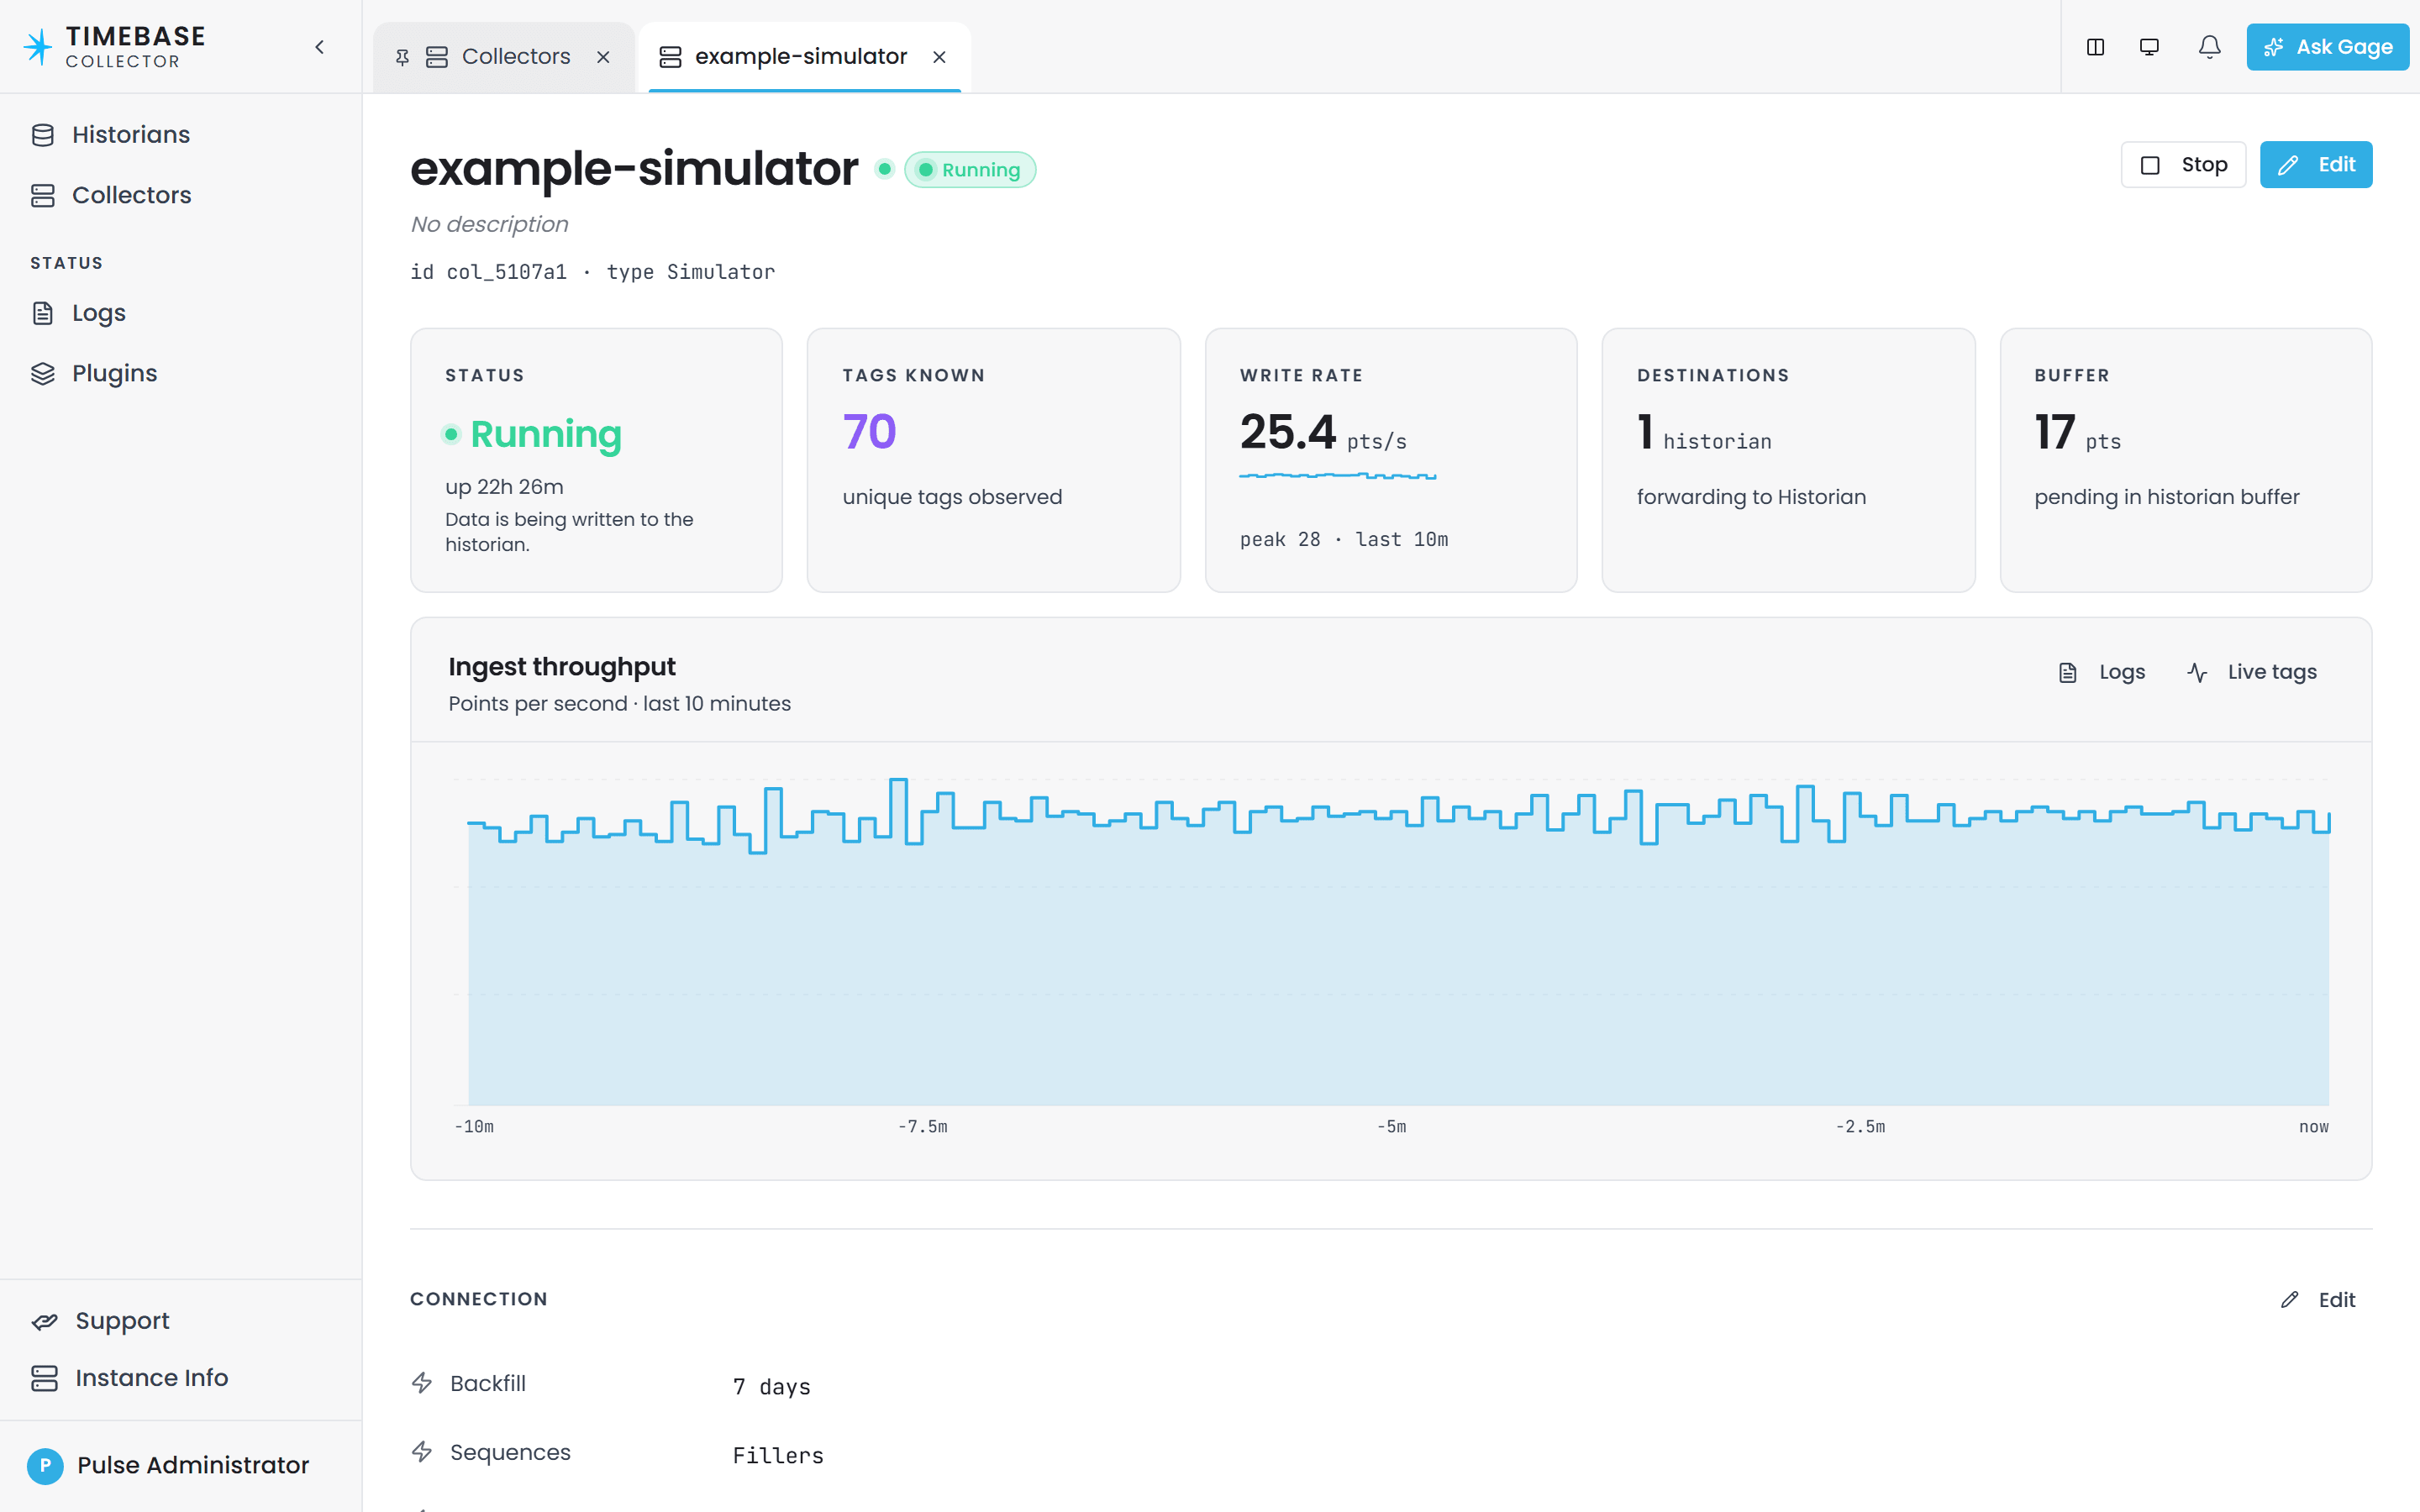
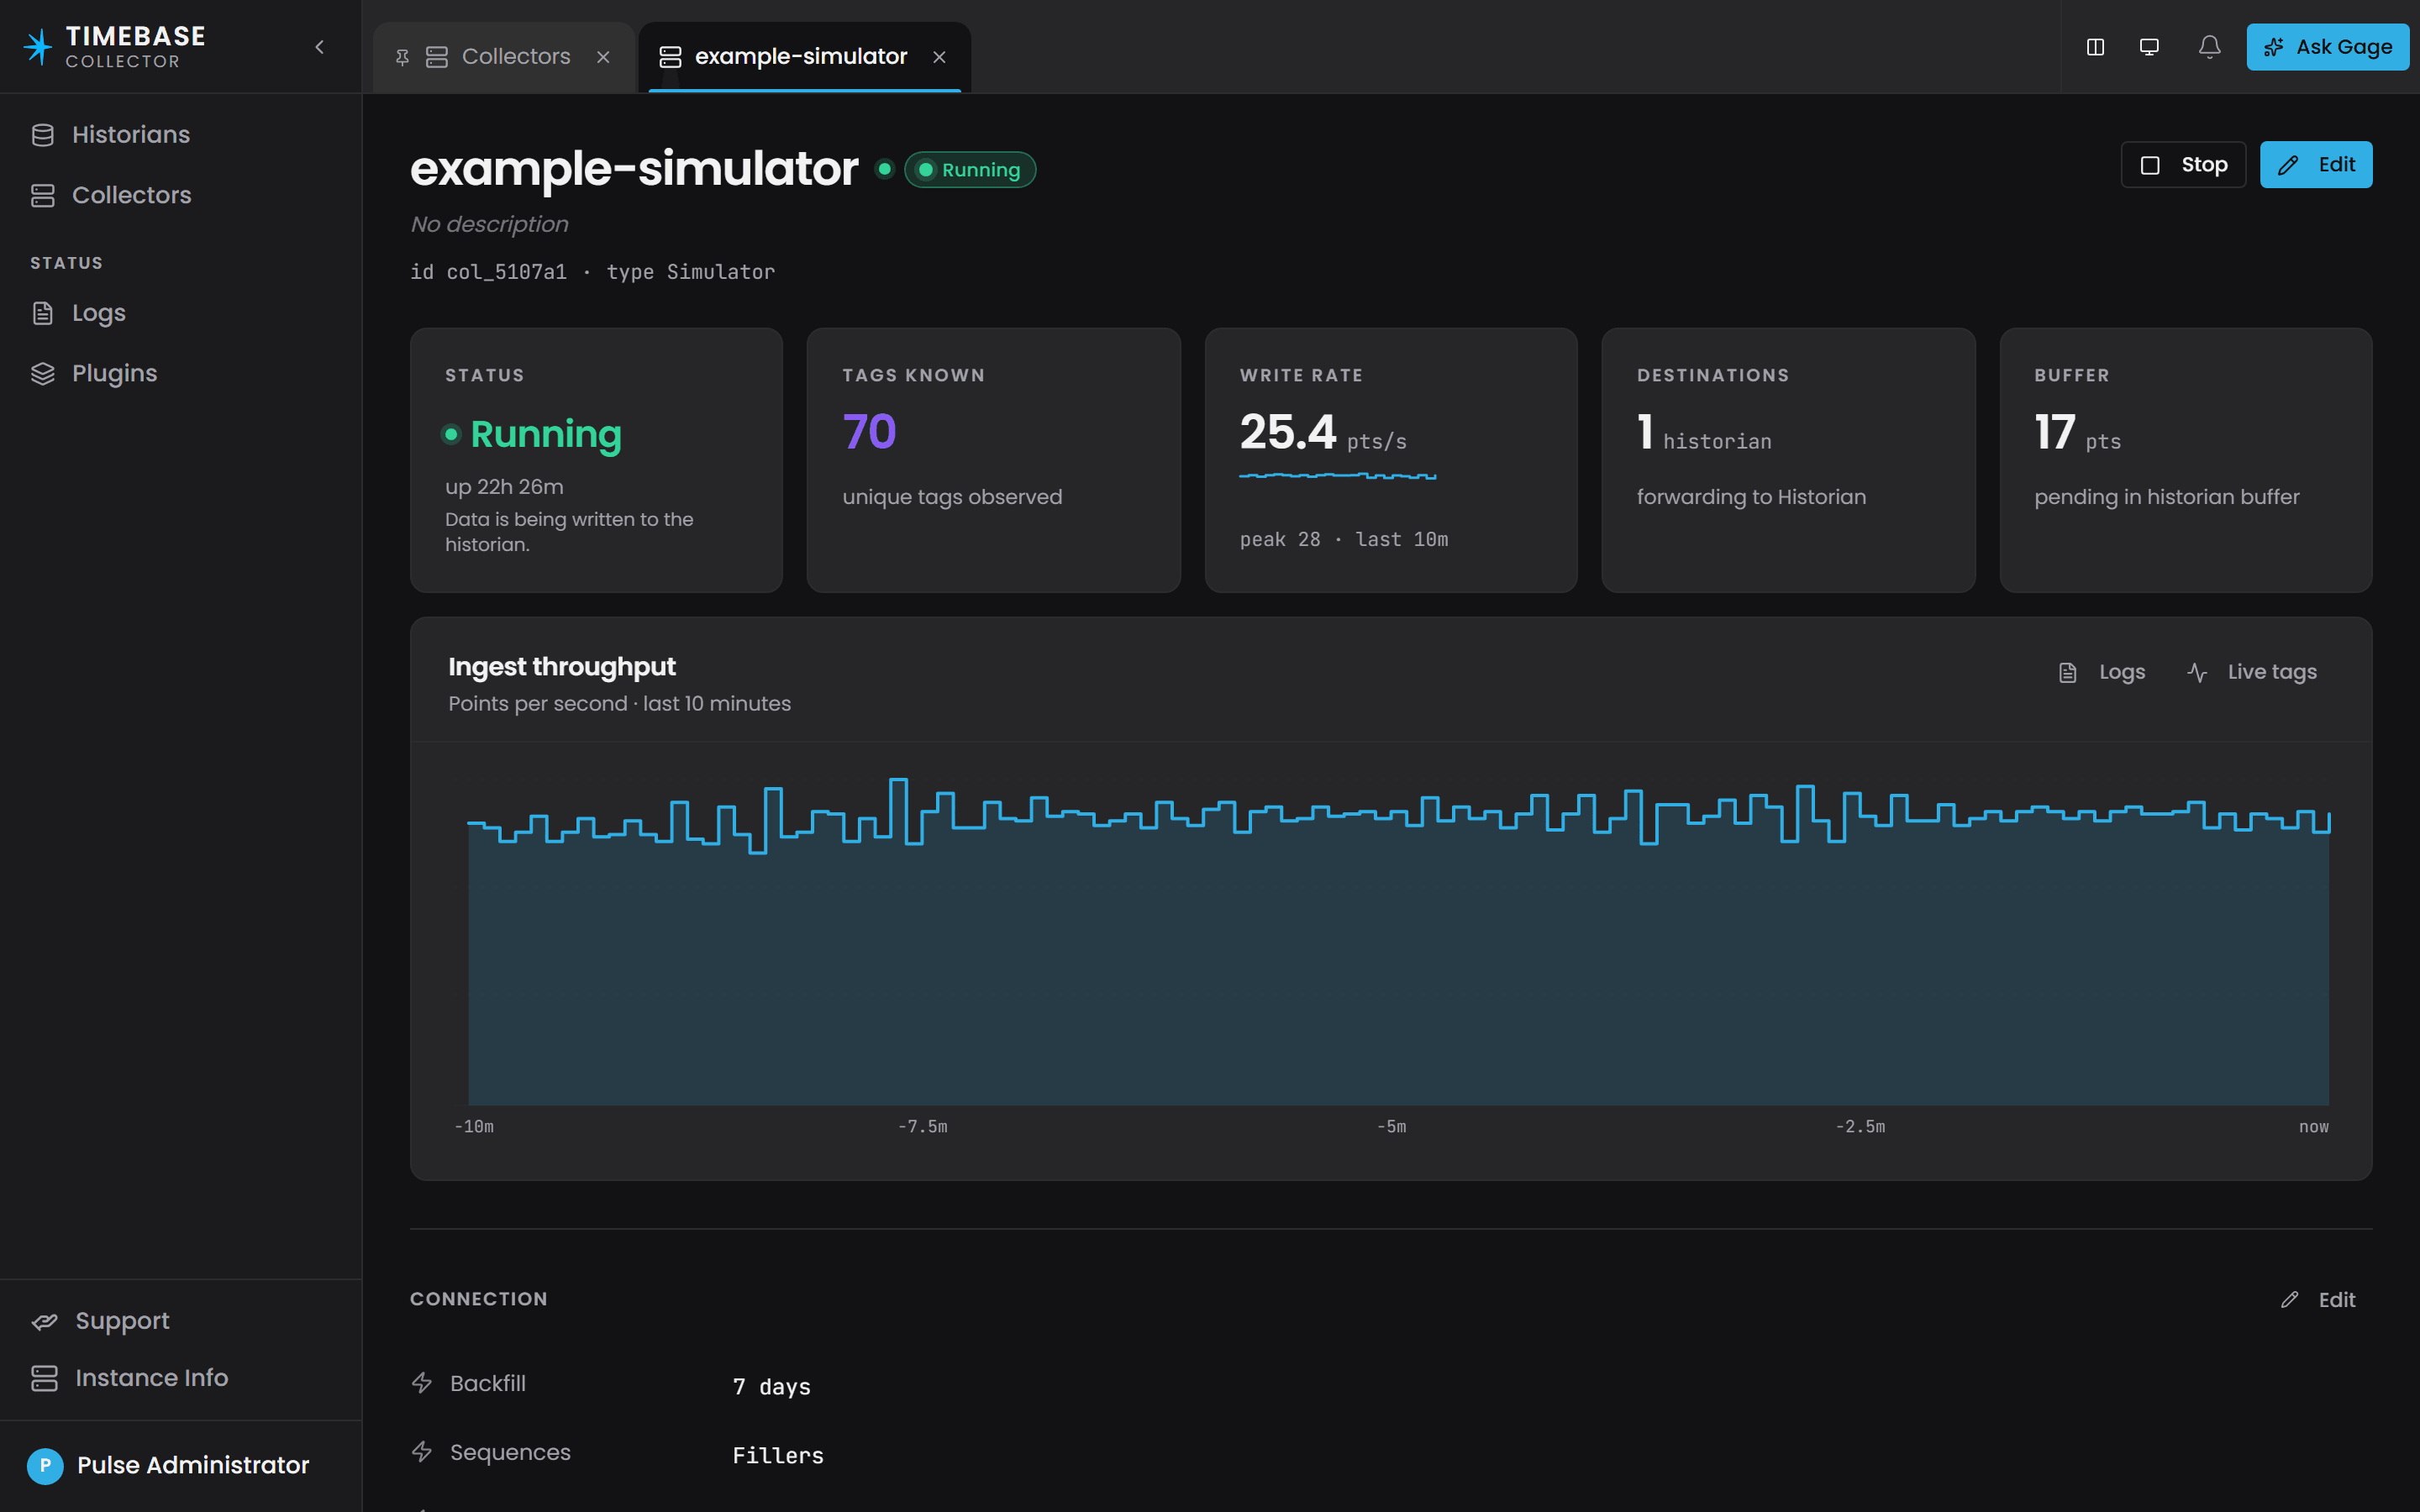
Click a row's name to open the instance's own page: its status, the tags it knows, its write rate, destinations and buffer, the last ten minutes of ingest throughput, the connection details its plugin reports, the top subscribed tags, and its historian destinations. Live tags opens a Preview tab beside it with every tag the instance is writing and the last value of each.
Every change made in the Collector's interface is written to its configuration files. On Windows they are under C:\ProgramData\Flow Software\Timebase\Collector\Config; in Docker they are under /config. Collector instances and their plugin settings live in collectors.config, and the shared historian connections in historians.config.
Universal Configuration Properties#
Every instance, whatever its plugin, is edited in the same drawer, which has three tabs. Settings is the plugin's own form and is covered by that plugin's article. The other two are the same for every type.
General#
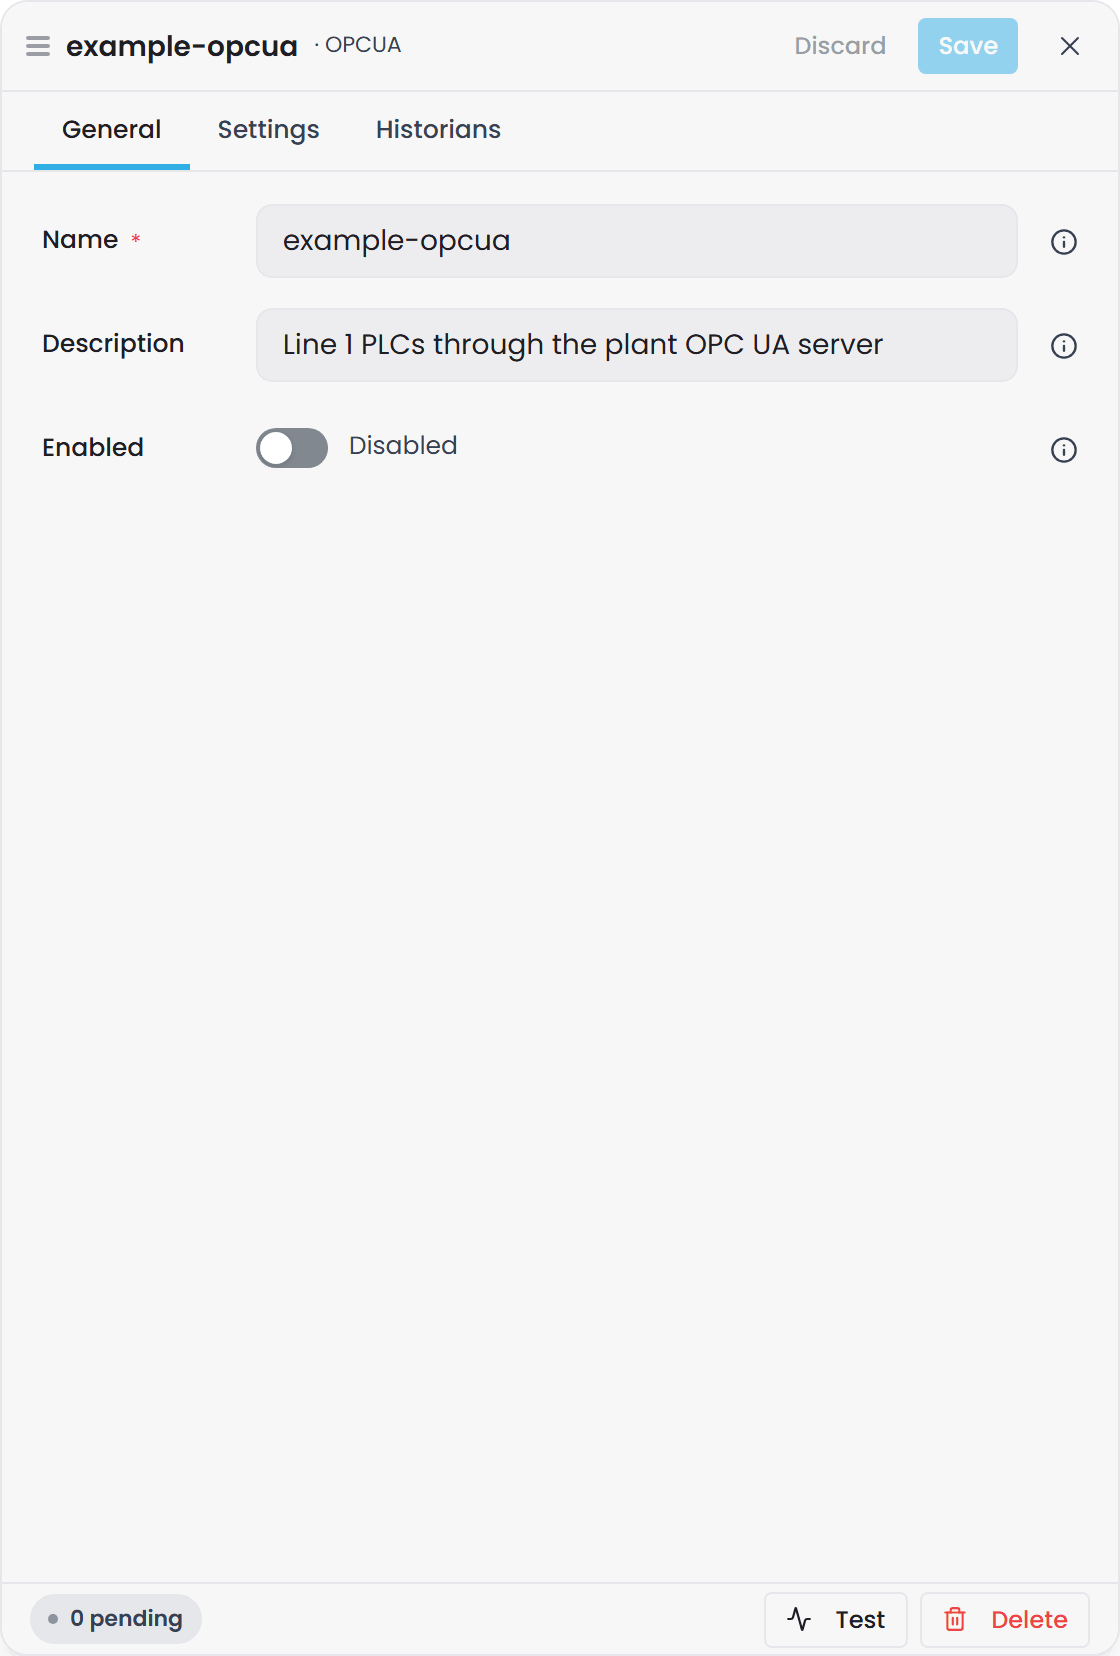
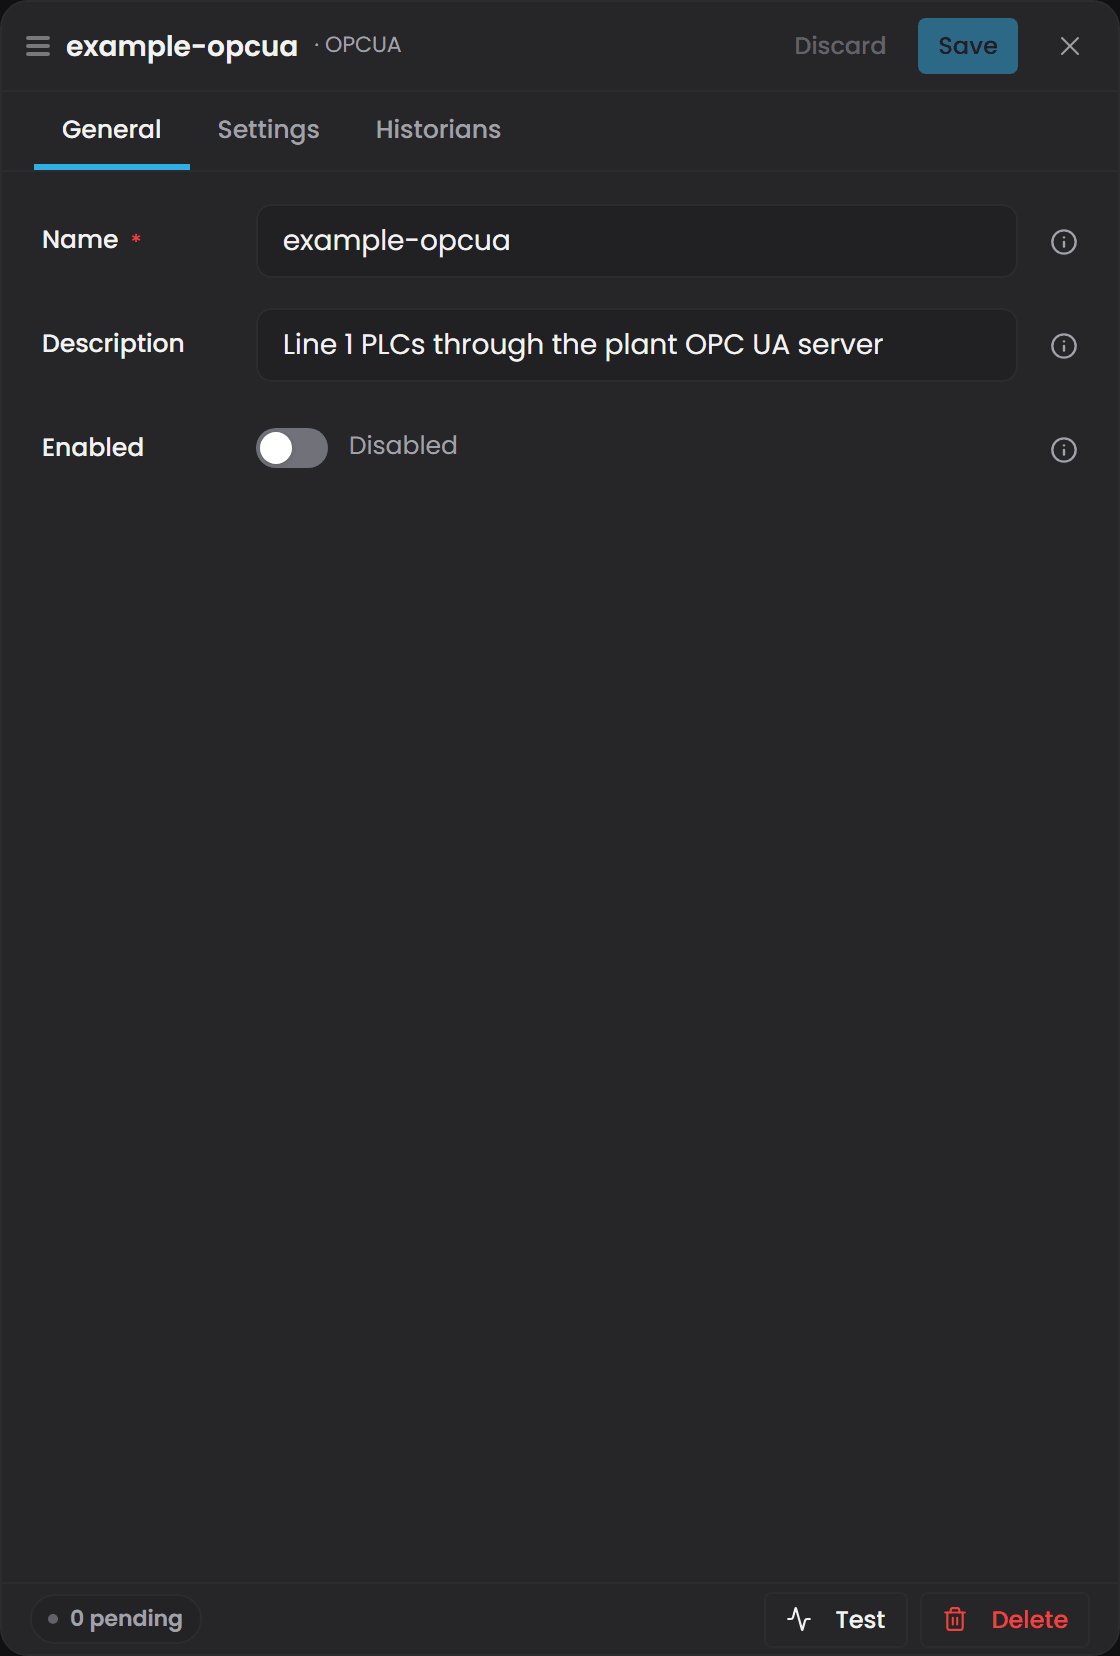
Name: How the instance appears in the listing, in Logs and on its own page. Renaming an instance does not restart it.
Description: Free text shown under the name on the instance's page.
Enabled: Whether the instance starts with the service. The Start and Stop buttons in the listing and on the instance's page set the same switch.
Type: Shown beside the name at the top of the drawer. The plugin type is chosen when the instance is added and does not change afterwards; to move to another plugin, add a new collector of that type. Each type has its own guide. See Configuring Each Collector for specific instructions and guidelines for each Collector type.
Note that the Ignition by Inductive Automation module is not available from the menu. This module runs on the Ignition platform and must be installed and configured there. Consult the Ignition Module documentation for more details.
Historians#
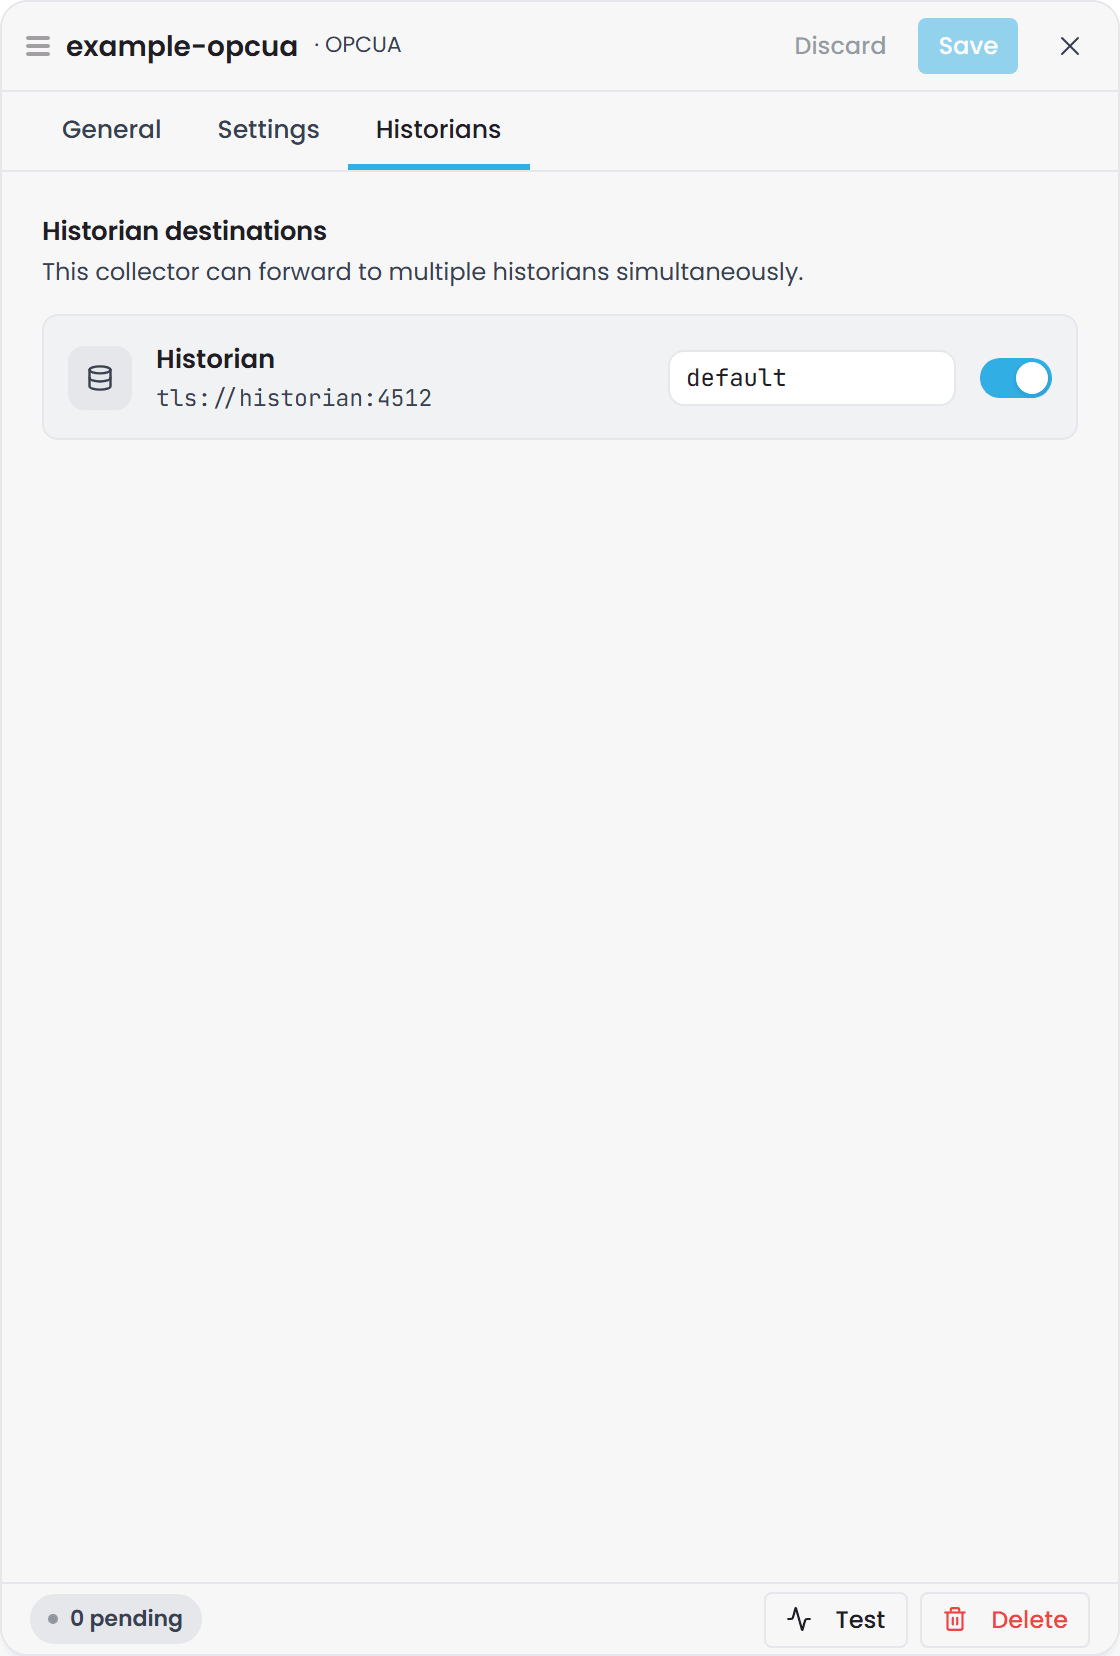
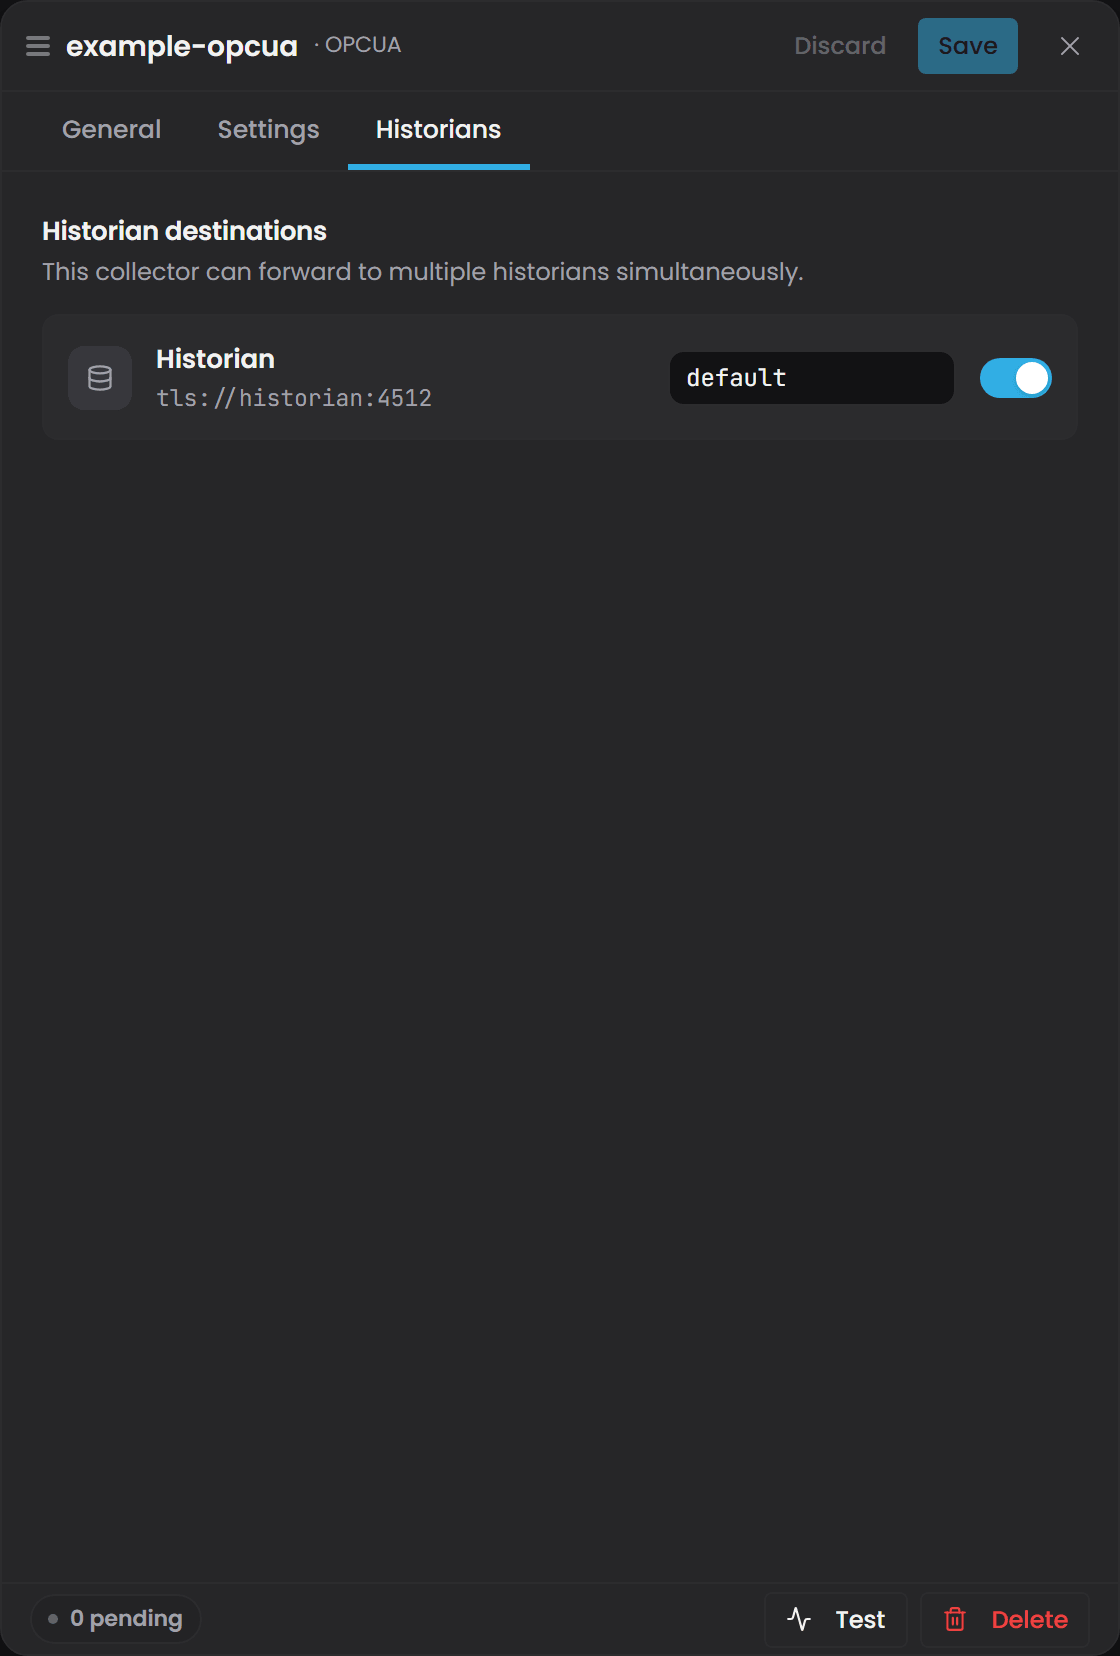
The connections defined on the Historians page are listed here. Switch a historian on to forward this instance's data to it, and set the Dataset it writes there. Datasets are created for you if they do not exist, and an instance can forward to several historians at once, each with its own dataset name.
It is recommended you maintain a single collector to dataset relationship.
Target Historians#
The Historians page holds the historian connections every instance on this host can forward to: the host, port and TLS of each, its connection status, which collectors use it and the dataset each writes, and whose identity it signs in with. New Historian adds one.
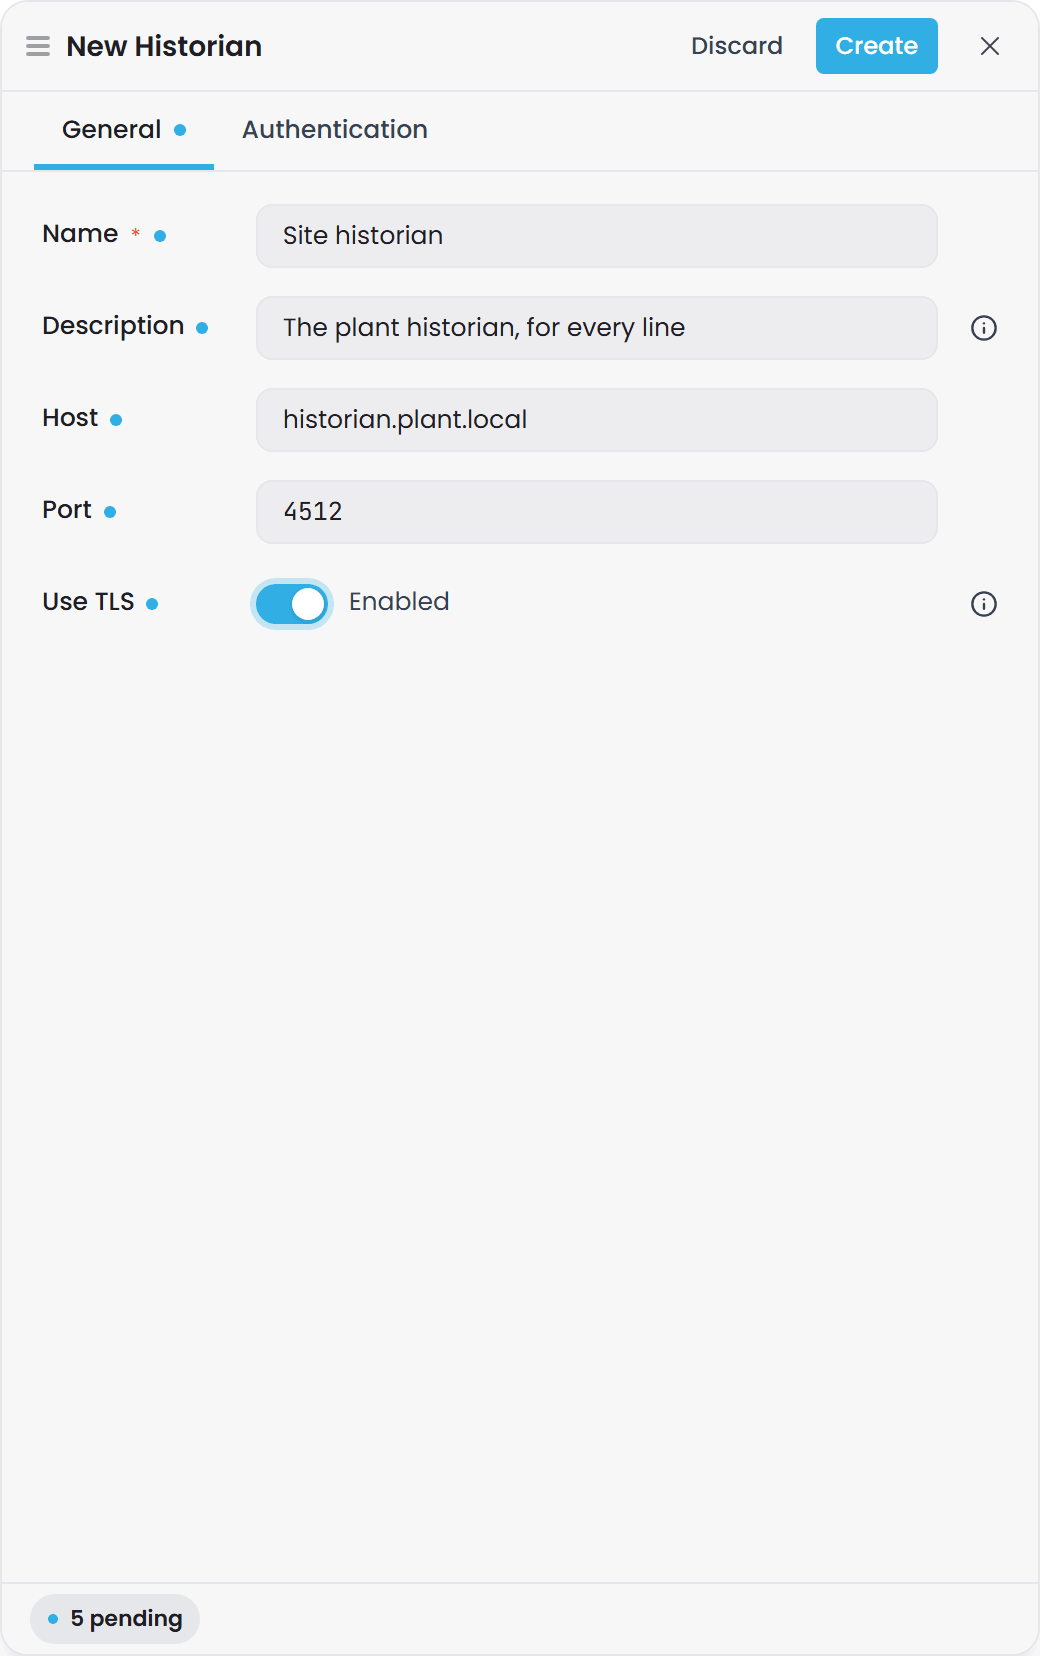
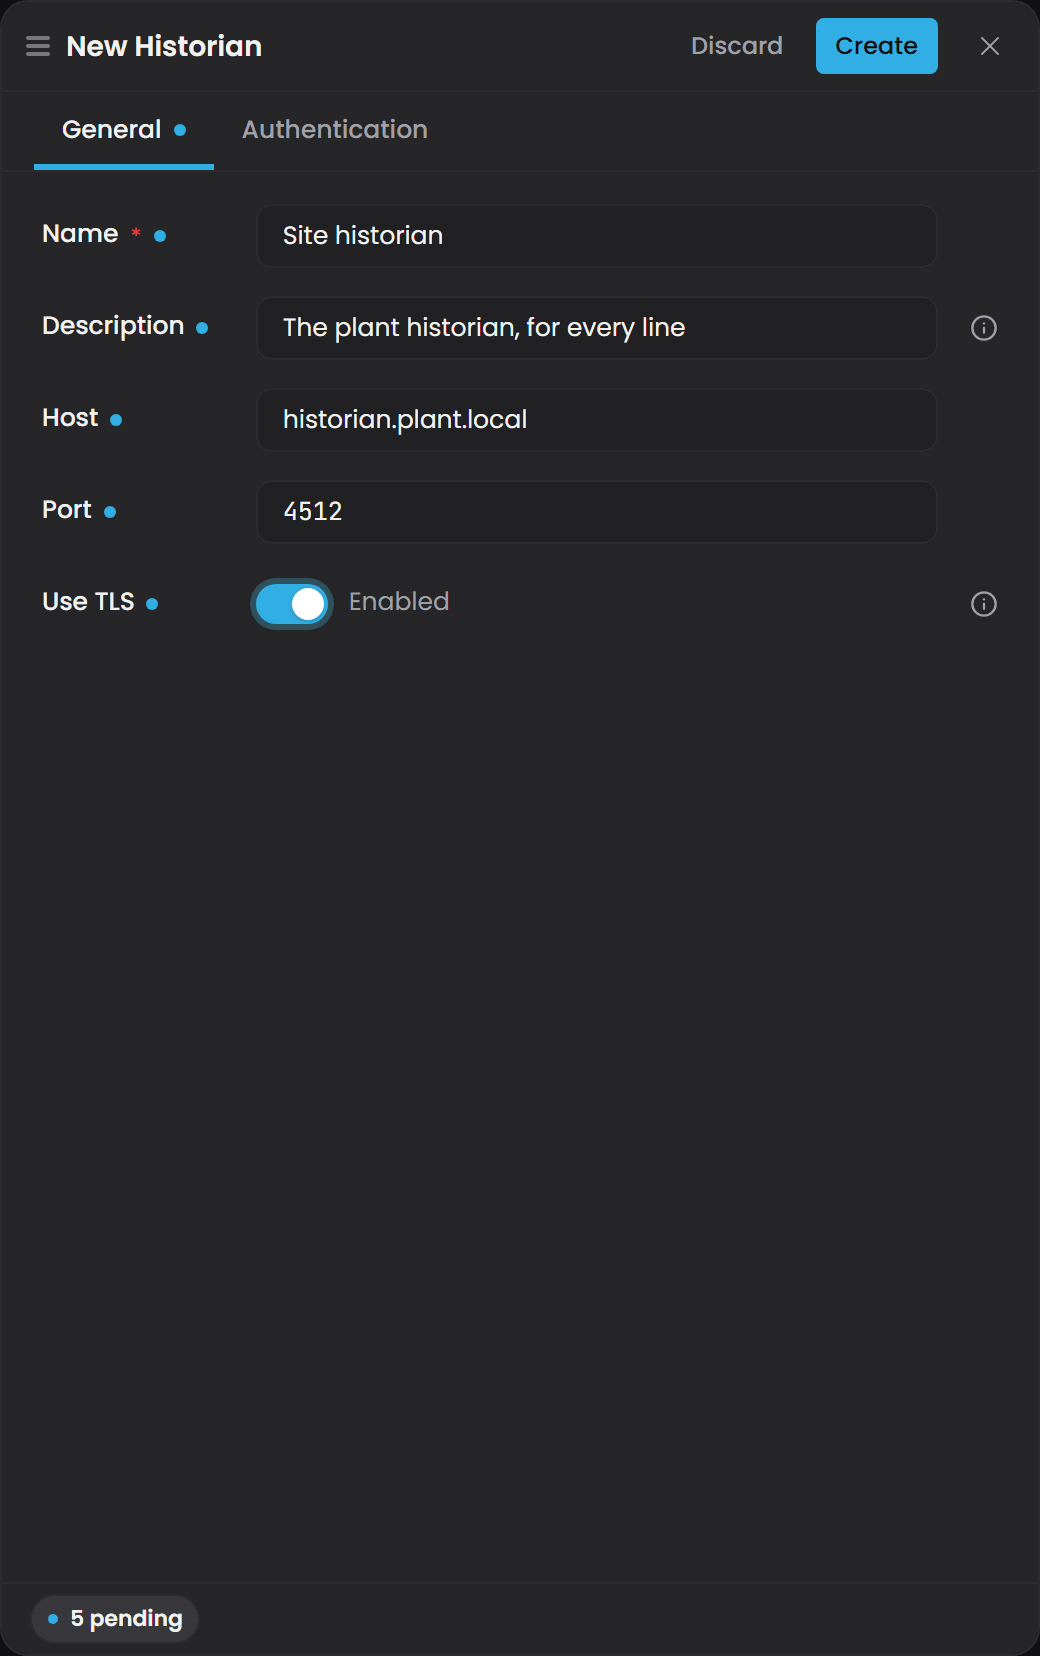
You can create connections to more than one historian. Each historian targeted receives its own data stream, providing for redundancy.
Name: The label used to identify this historian within the Collector; it does not affect network routing but helps in diagnostics.
Description: Free text, useful when collectors write to several historians.
Host: The DNS name or IP address of the target historian that receives data.
Port: The port on which the historian accepts write requests; this must match the historian's own configuration. A Timebase Historian on its default ports listens on 4512 with TLS and 4511 without.
Use TLS: Enables encrypted communication between the collector and the historian; recommended for any environment where the collector and historian are not on the same protected network.
The Authentication tab holds the rest.
Authentication: Whose identity the collector presents to this historian. This host sends a token for the collector's own Pulse identity, the one in its Pulse:Auth settings, and is the right choice whenever the same Pulse secures both; a new target starts here and needs nothing else filled in. Custom client sends a token for the client named below, from the identity provider named below. None sends no token, for a historian with authentication switched off. See Enabling User Management and Secure Data Connection in The Collectors Utilizing Pulse.
Client ID and Client Secret: For Custom client only. The Pulse client this target signs in as, registered in Pulse with the historian among its audiences.
Identity Provider / Host, Port, Use TLS: For Custom client only. Where that client's tokens come from. There is no default host or port: a Custom client target with either blank reads Connection Fault until they are set.
Each target reports its own connection status beside its name: Running, Connecting… while a first attempt or an outage is waited out, or Connection Fault with the reason. A target that cannot be reached does not stop collection; values are held by store and forward and sent when it returns.