Atlas Skills
A skill is a saved set of written instructions for the Atlas AI assistant.
Overview#
A skill is a saved set of written instructions for the Atlas AI assistant. When you ask for something a skill covers, the assistant loads that skill's instructions and follows them, step by step, using the tools it already has. Atlas ships with five skills, and you can write your own on the Skills page, or have the assistant interview you into one.
Use this article when you want the assistant to do a larger piece of work than a single request: model a whole domain from a conversation, set up a new domain from scratch, or explain a domain you have inherited from someone else. For what the assistant itself is and how to configure its model, see Atlas AI Assistant. For the specialist agents the modelling skill hands work to, see Atlas AI Agents.
What a Skill Is#
A skill is a set of instructions. The assistant searches the list of skill names and descriptions, loads the instructions of the one that fits, and carries out the steps with the tools it already has.
A skill describes the work. Its settings, including the Tool access picker, record what the skill expects to need, and that expectation is passed to the assistant along with the instructions. A skill run by the main assistant works with the main assistant's own tools.
set limits on what the assistant may do on the agent, which is where tool scoping is enforced. Agent tool scoping and the administrator-only tools are covered in Atlas AI Agents.
The Five Built-In Skills#
Atlas ships with model-domain, create-domain, explain-ontology, create-agent and create-skill. They are always available to the assistant.
the Skills page lists the skills you have authored, so on a fresh installation it is empty while these five are working normally. Built-in skills cannot be opened, edited or deleted there.
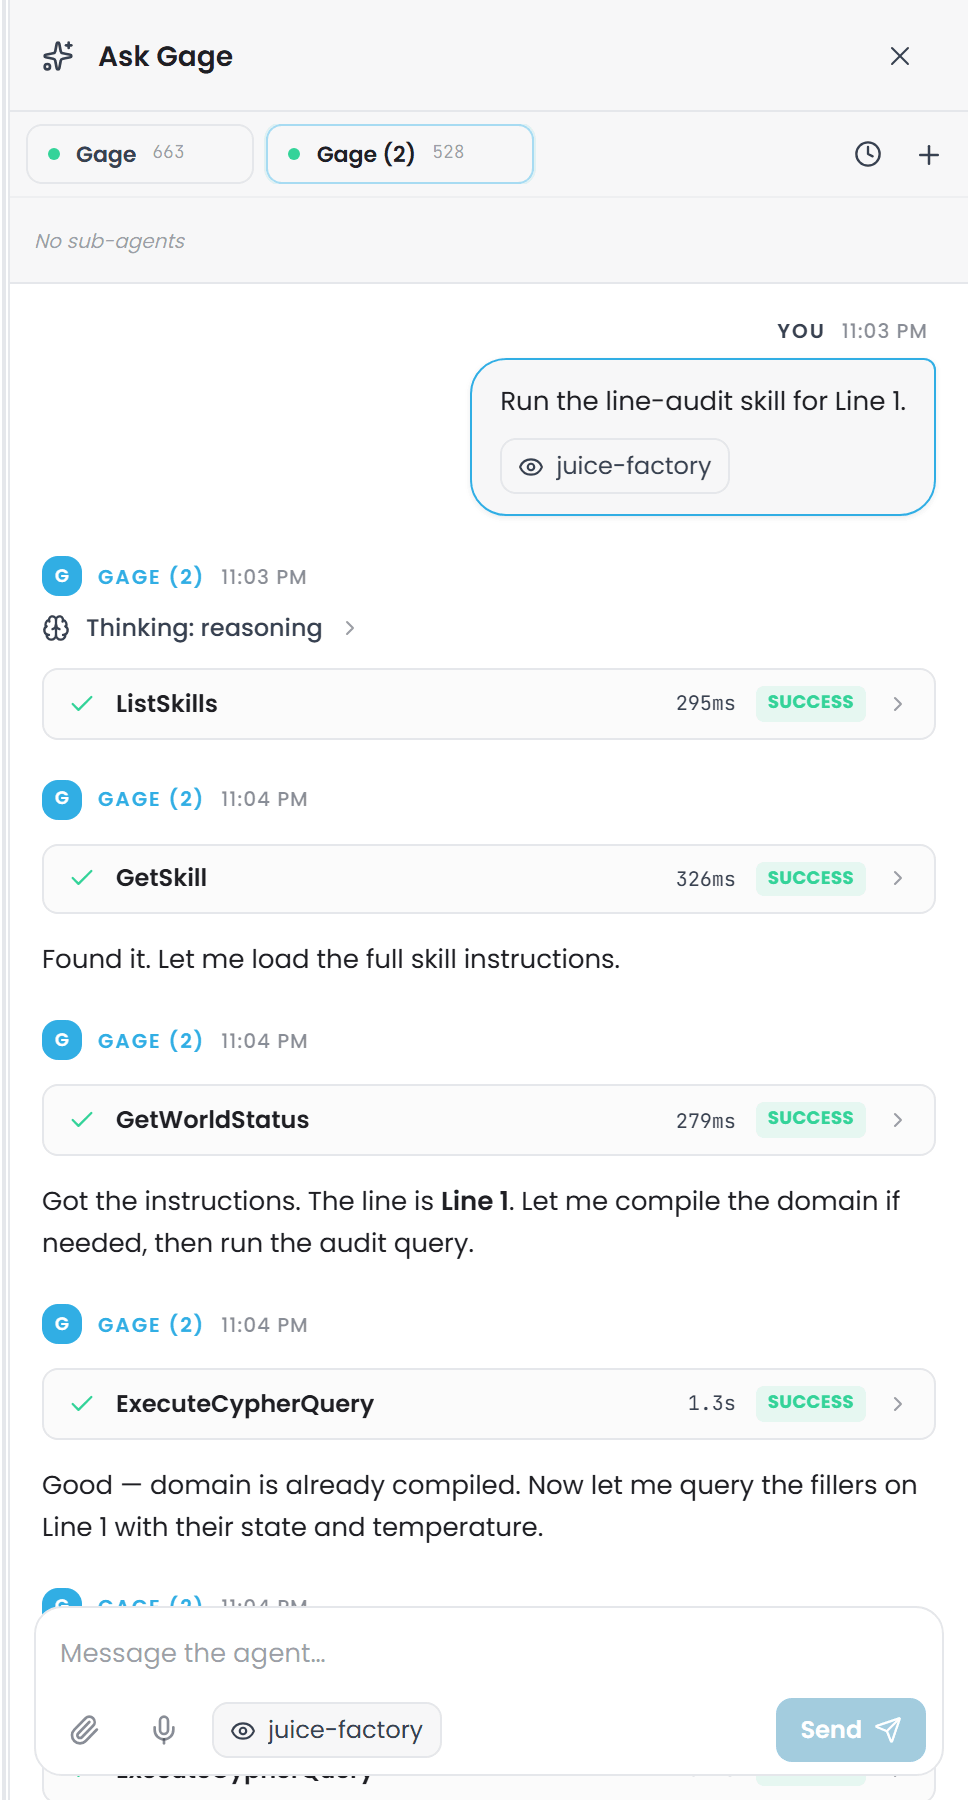
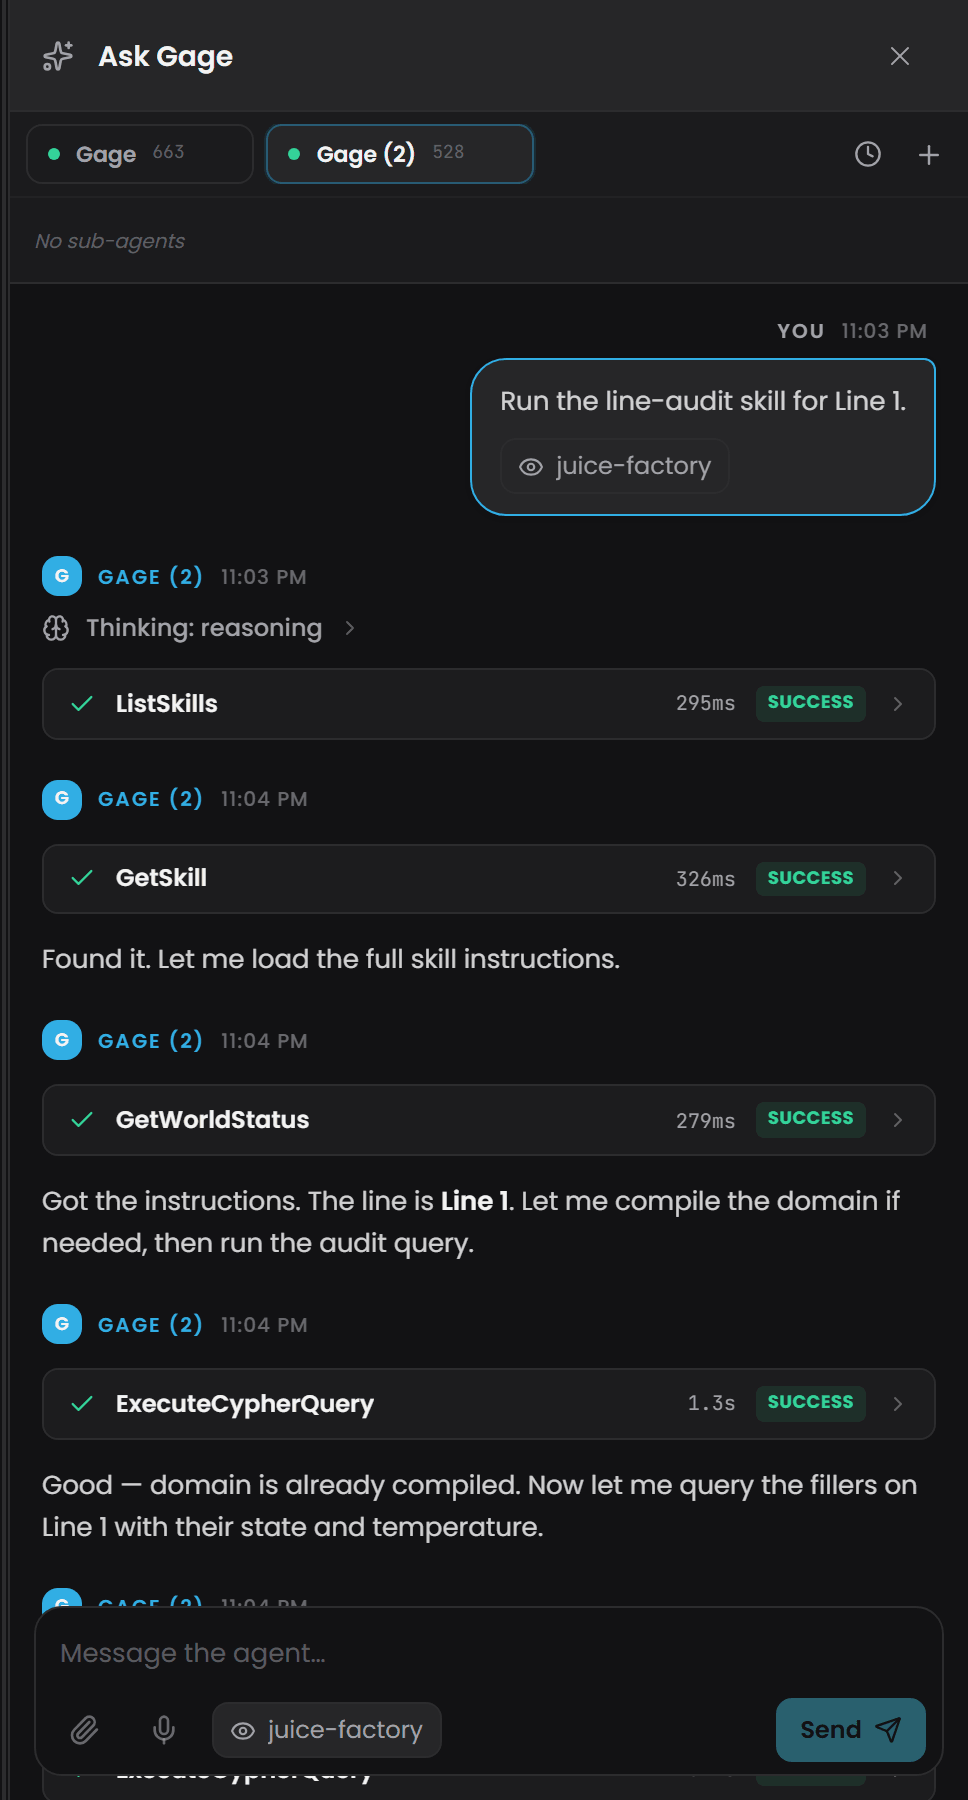
When you ask for a skill by name, the assistant finds it with its skill tools, loads the instructions and works through them. Each step shows as a tool block in the conversation:
model-domain#
model-domain runs the full modelling pipeline, from a plain-language description of a plant or process to a compiled, checked domain. The assistant drives it, presents each result to you, and only moves on once you say so.
Choose an operating mode first. The skill supports five, and if your intent is not clear it will ask you which one you want before it starts.
| Mode | Use it when | What runs |
|---|---|---|
| Build | You are creating a new domain from scratch | interview, then architect, builder, mapper, reviewer |
| Enrich | You are adding to a domain that already exists | interview, then architect, reviewer (before the change), builder, mapper, reviewer (after) |
| Schema Only | You want the types designed and built, but no instances yet | interview, then architect, builder, reviewer |
| Populate Only | The types already exist and you only need instances | mapper, then reviewer |
| Library | You are building a shared vocabulary rather than a domain | interview, then architect, builder, reviewer |
The steps in full.
- The interview. The assistant asks you the questions itself, in the chat panel. It does not hand this to a specialist, because a specialist gets a single turn and returns text, so it cannot hold a conversation. It works through core entities, relationships, properties, hierarchies and instance patterns, skipping anything you have already answered, and it produces a written domain summary.
- Checkpoint. You are shown the domain summary and asked whether it captures your domain correctly, and whether anything should be added, removed or corrected. Your feedback is folded in before anything else happens.
- Design. The confirmed summary goes to the
architectagent, which inspects the existing shared libraries for types you can reuse and produces a dependency-ordered plan of entity types, properties and relationships. - The approval gate. You are shown the plan as readable text: entity types with their parents and descriptions, properties with their ranges, relationships with their source, target and type, and any libraries that need importing.
architectis read-only and cannot write anything, so nothing at all is created in your domain until you approve this plan. This is the point to stop if the shape is wrong. - Conflict check (Enrich mode only). For a domain that already exists,
reviewerruns before the build and reports duplicates, contradictions, overlaps and redundancies against the proposed changes. You decide how to handle each one. - Build.
buildercreates the domain if needed, imports the libraries, and creates the entity types, properties and relationships in dependency order. You are shown the build report. - Populate instances. If the mode includes instances,
mapperwrites the instance map definitions, grouping them sensibly into.map.jsonfiles and using the right expansion for each: single unique pieces of equipment one way, repeated equipment another. You are shown the instance report. - Validate.
reviewerruns again, compiles the domain and runs queries against the result to check it matches the plan. You are shown the validation report. - Summary. The assistant reports what was created: the domain, the counts of entity types, properties and relationships, the number of instance definitions and files, and whether validation passed. If it found problems, it offers to fix them.
The skill never moves from one step to the next without your confirmation. You can adjust, correct, or stop at any checkpoint.
Start it by describing what you want to model:
"Model a domain for our water treatment plant." "I need to model our packaging line: pumps, conveyors and inspection stations." "Run the model-domain skill for our HVAC system."
the agents named above - architect, builder, mapper and reviewer - are four of the eight built-in Atlas agents. What each one can do, and how to talk to one directly, is covered in Atlas AI Agents.
create-domain#
create-domain is the lighter alternative. It is a conversation rather than a pipeline: no specialist agents are involved, and the assistant asks you the questions and does the work itself.
- Asks for the domain name. Lowercase and hyphen-separated, for example
cooling-systemorpackaging-line, and it checks that the name is not already taken. - Asks what the domain represents, and for three to five key entities. These become your entity types.
- For each entity, asks what properties it has, what kind of value each property holds (a number, some text, a yes/no flag, a date and time), and how the entities relate to each other.
- Summarises the proposed structure: every entity type with its properties, every relationship with its source and target.
- Asks you to confirm before creating anything.
- Creates the domain, then adds the entity types, properties and relationships.
- Verifies by listing back what it created.
Use it when you already know roughly what you want, want to start small, and would rather answer a handful of questions than run the full pipeline.
Start it like this:
"Create a new domain called conveyor-line." "Help me set up a domain for the cooling tower." "Run the create-domain skill."
explain-ontology#
explain-ontology reads a domain you already have and explains it in plain language. It is the fastest way to understand a model somebody else built.
- Lists every entity type in the domain and presents them as a hierarchy, showing which types inherit from which.
- For each significant type, describes what it represents in the real world, what its properties measure or track, and how it relates to other types.
- Describes the relationship map in words: what contains what, what feeds into what, what monitors what.
- Points out patterns: shared base types, properties that recur everywhere, the naming convention in use.
- Suggests improvements where they are obvious, such as a missing relationship between two clearly connected types, or a property that several types could share through inheritance.
The explanation comes back in sections with headings and bullet points, and it includes each element's full technical name alongside its readable label.
Name this one explicitly. Of the five built-in skills, explain-ontology is the one marked so that the assistant should not pick it up from a general request:
"Run the explain-ontology skill." "Use explain-ontology on the packaging-line domain."
Naming the skill is the reliable way to run it.
create-agent and create-skill#
These two skills turn the assistant into an interviewer. create-agent asks you, one question at a time and at most ten, what the new agent is for, which tools it needs, how it should behave, and then writes the complete agent definition. create-skill does the same for a skill, in at most seven questions, and writes its one-line description and step-by-step instructions. Both offer a default with every question so you can say "that's fine" and move on, and both can start from an existing definition and ask only about the gaps. Writing the result needs the administrator role; the curator agent carries these two skills and the tools to save what they produce.
"Create an agent that audits a line before shift handover." "Help me write a skill for our naming review."
Create Your Own Skill#
You author skills on the Skills page, or ask the assistant to run create-skill and be interviewed into one. Anything you create either way is added to the same list the assistant searches, alongside the five built-in skills.
Before you start. Creating, editing and deleting a skill needs the administrator role in Pulse (pulse:administrator). Reading and chatting need only a normal signed-in account. If the Skills page shows you a list but every save fails, that is the reason.
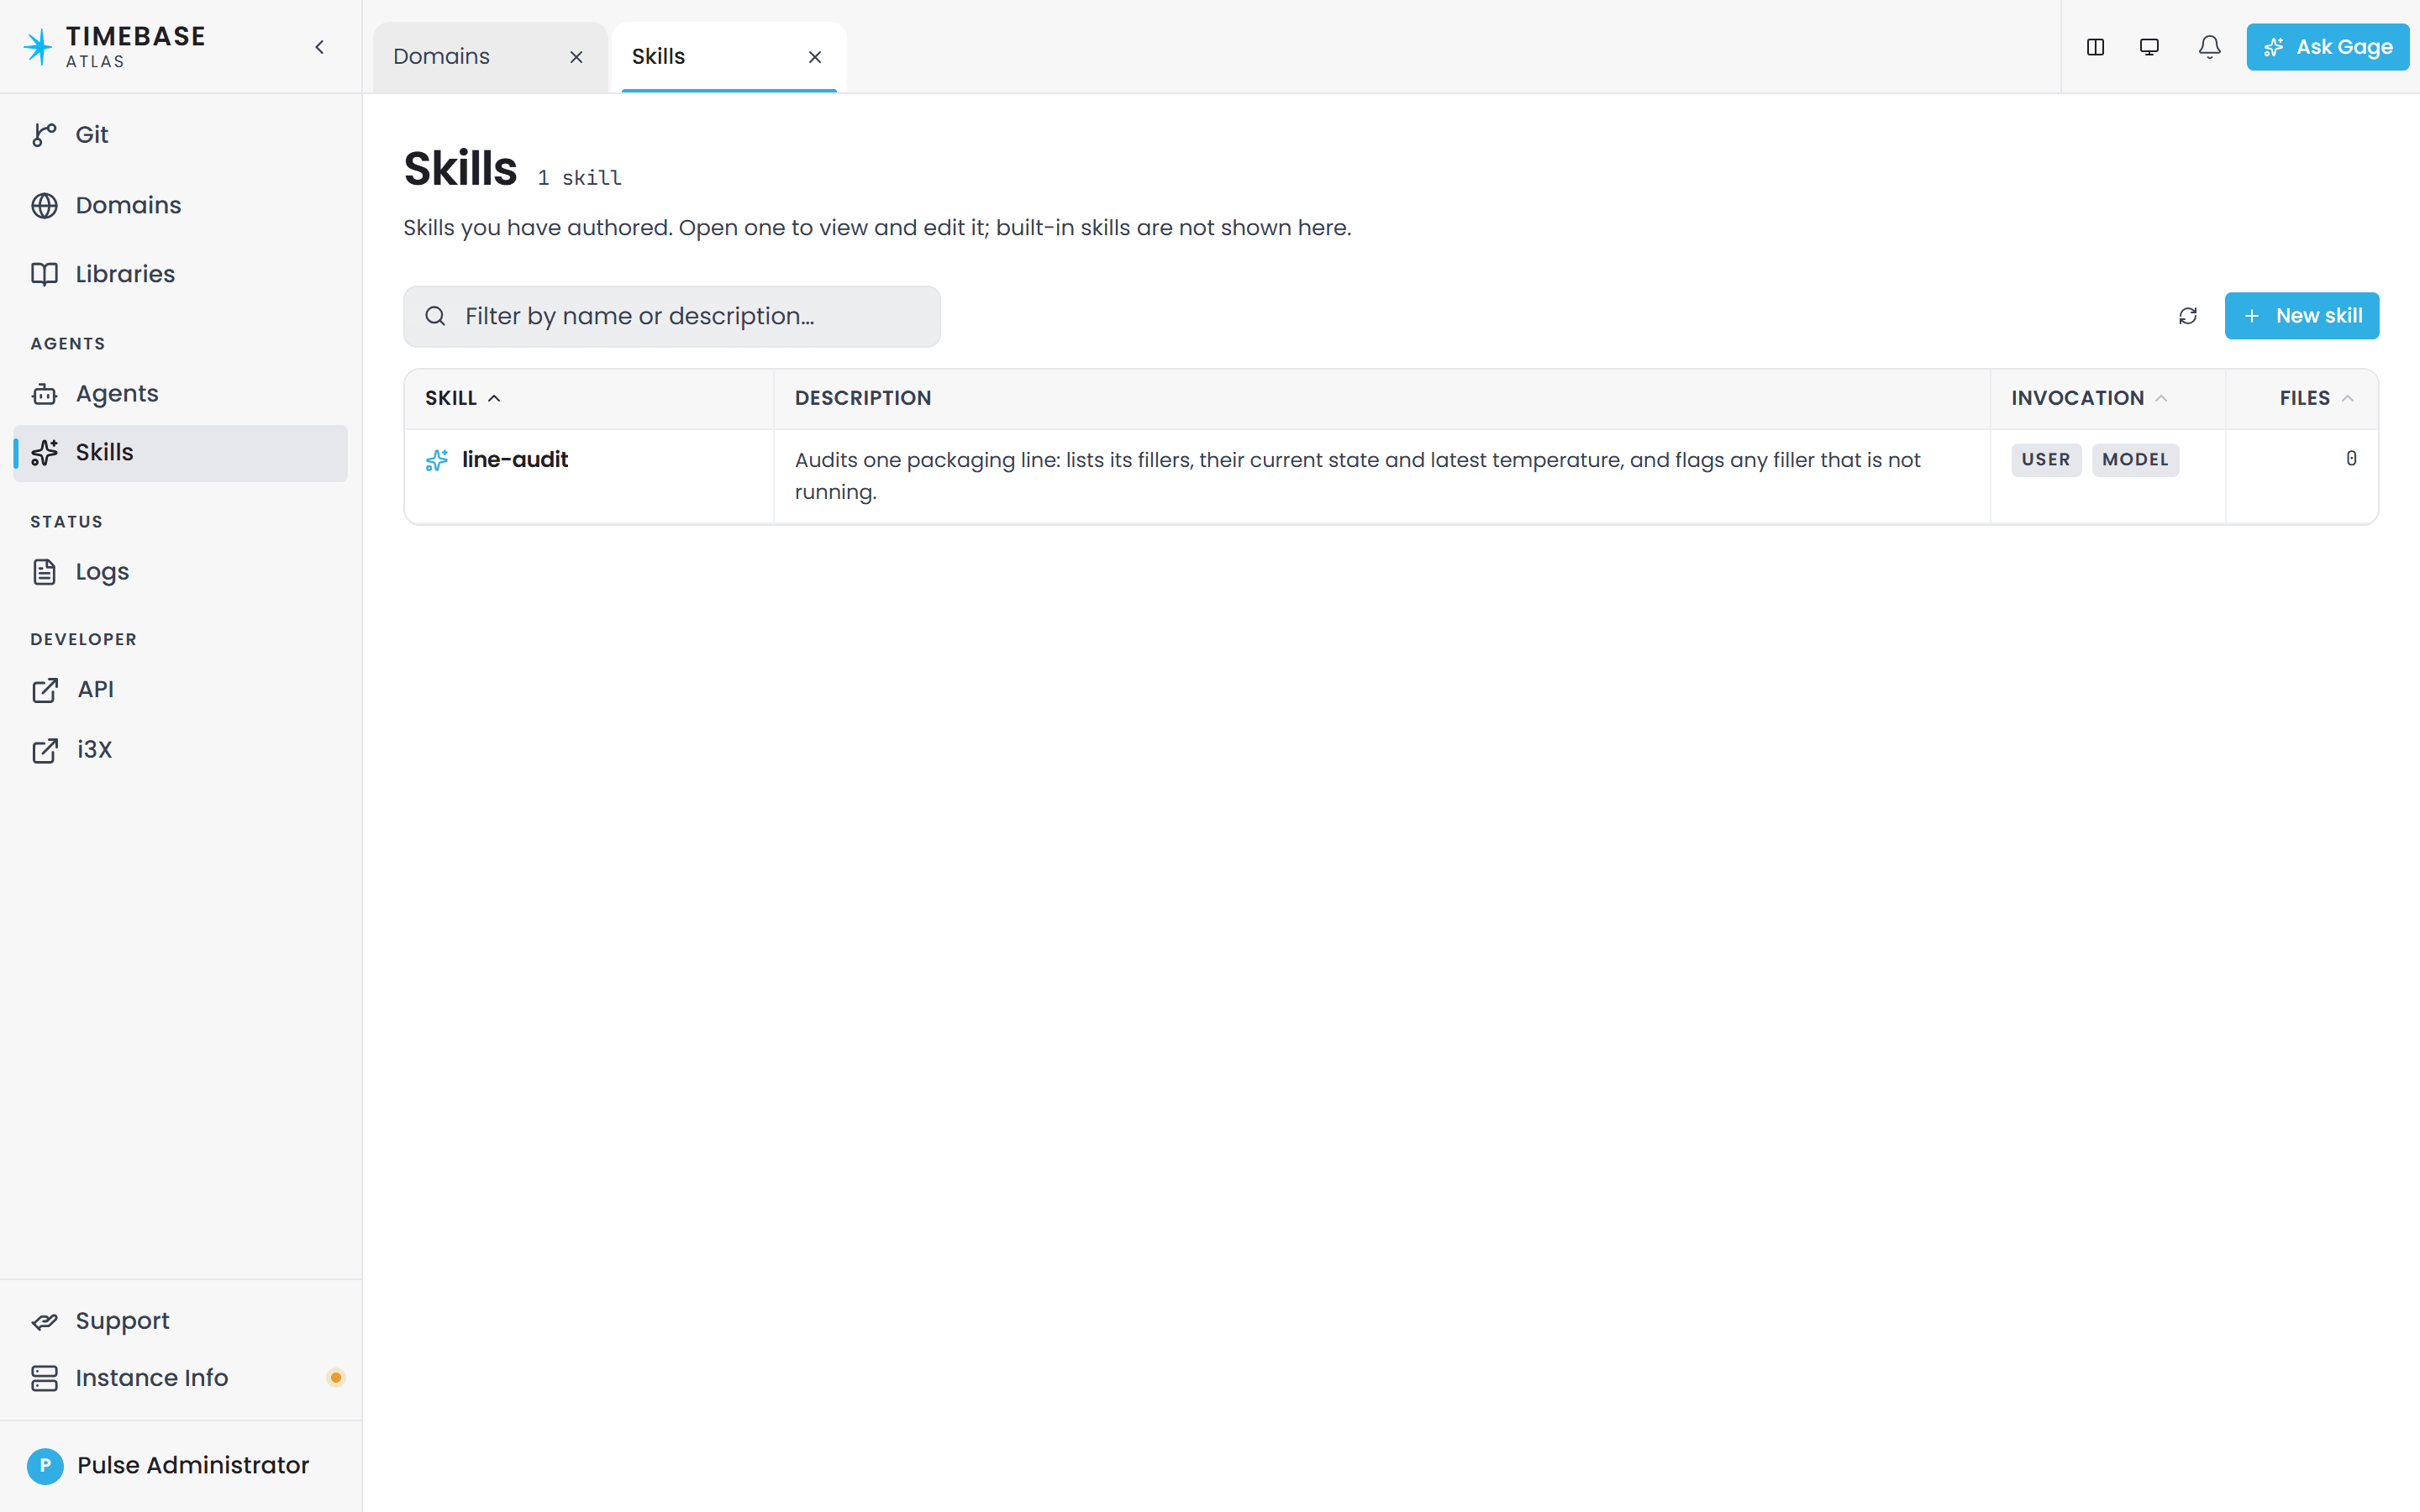
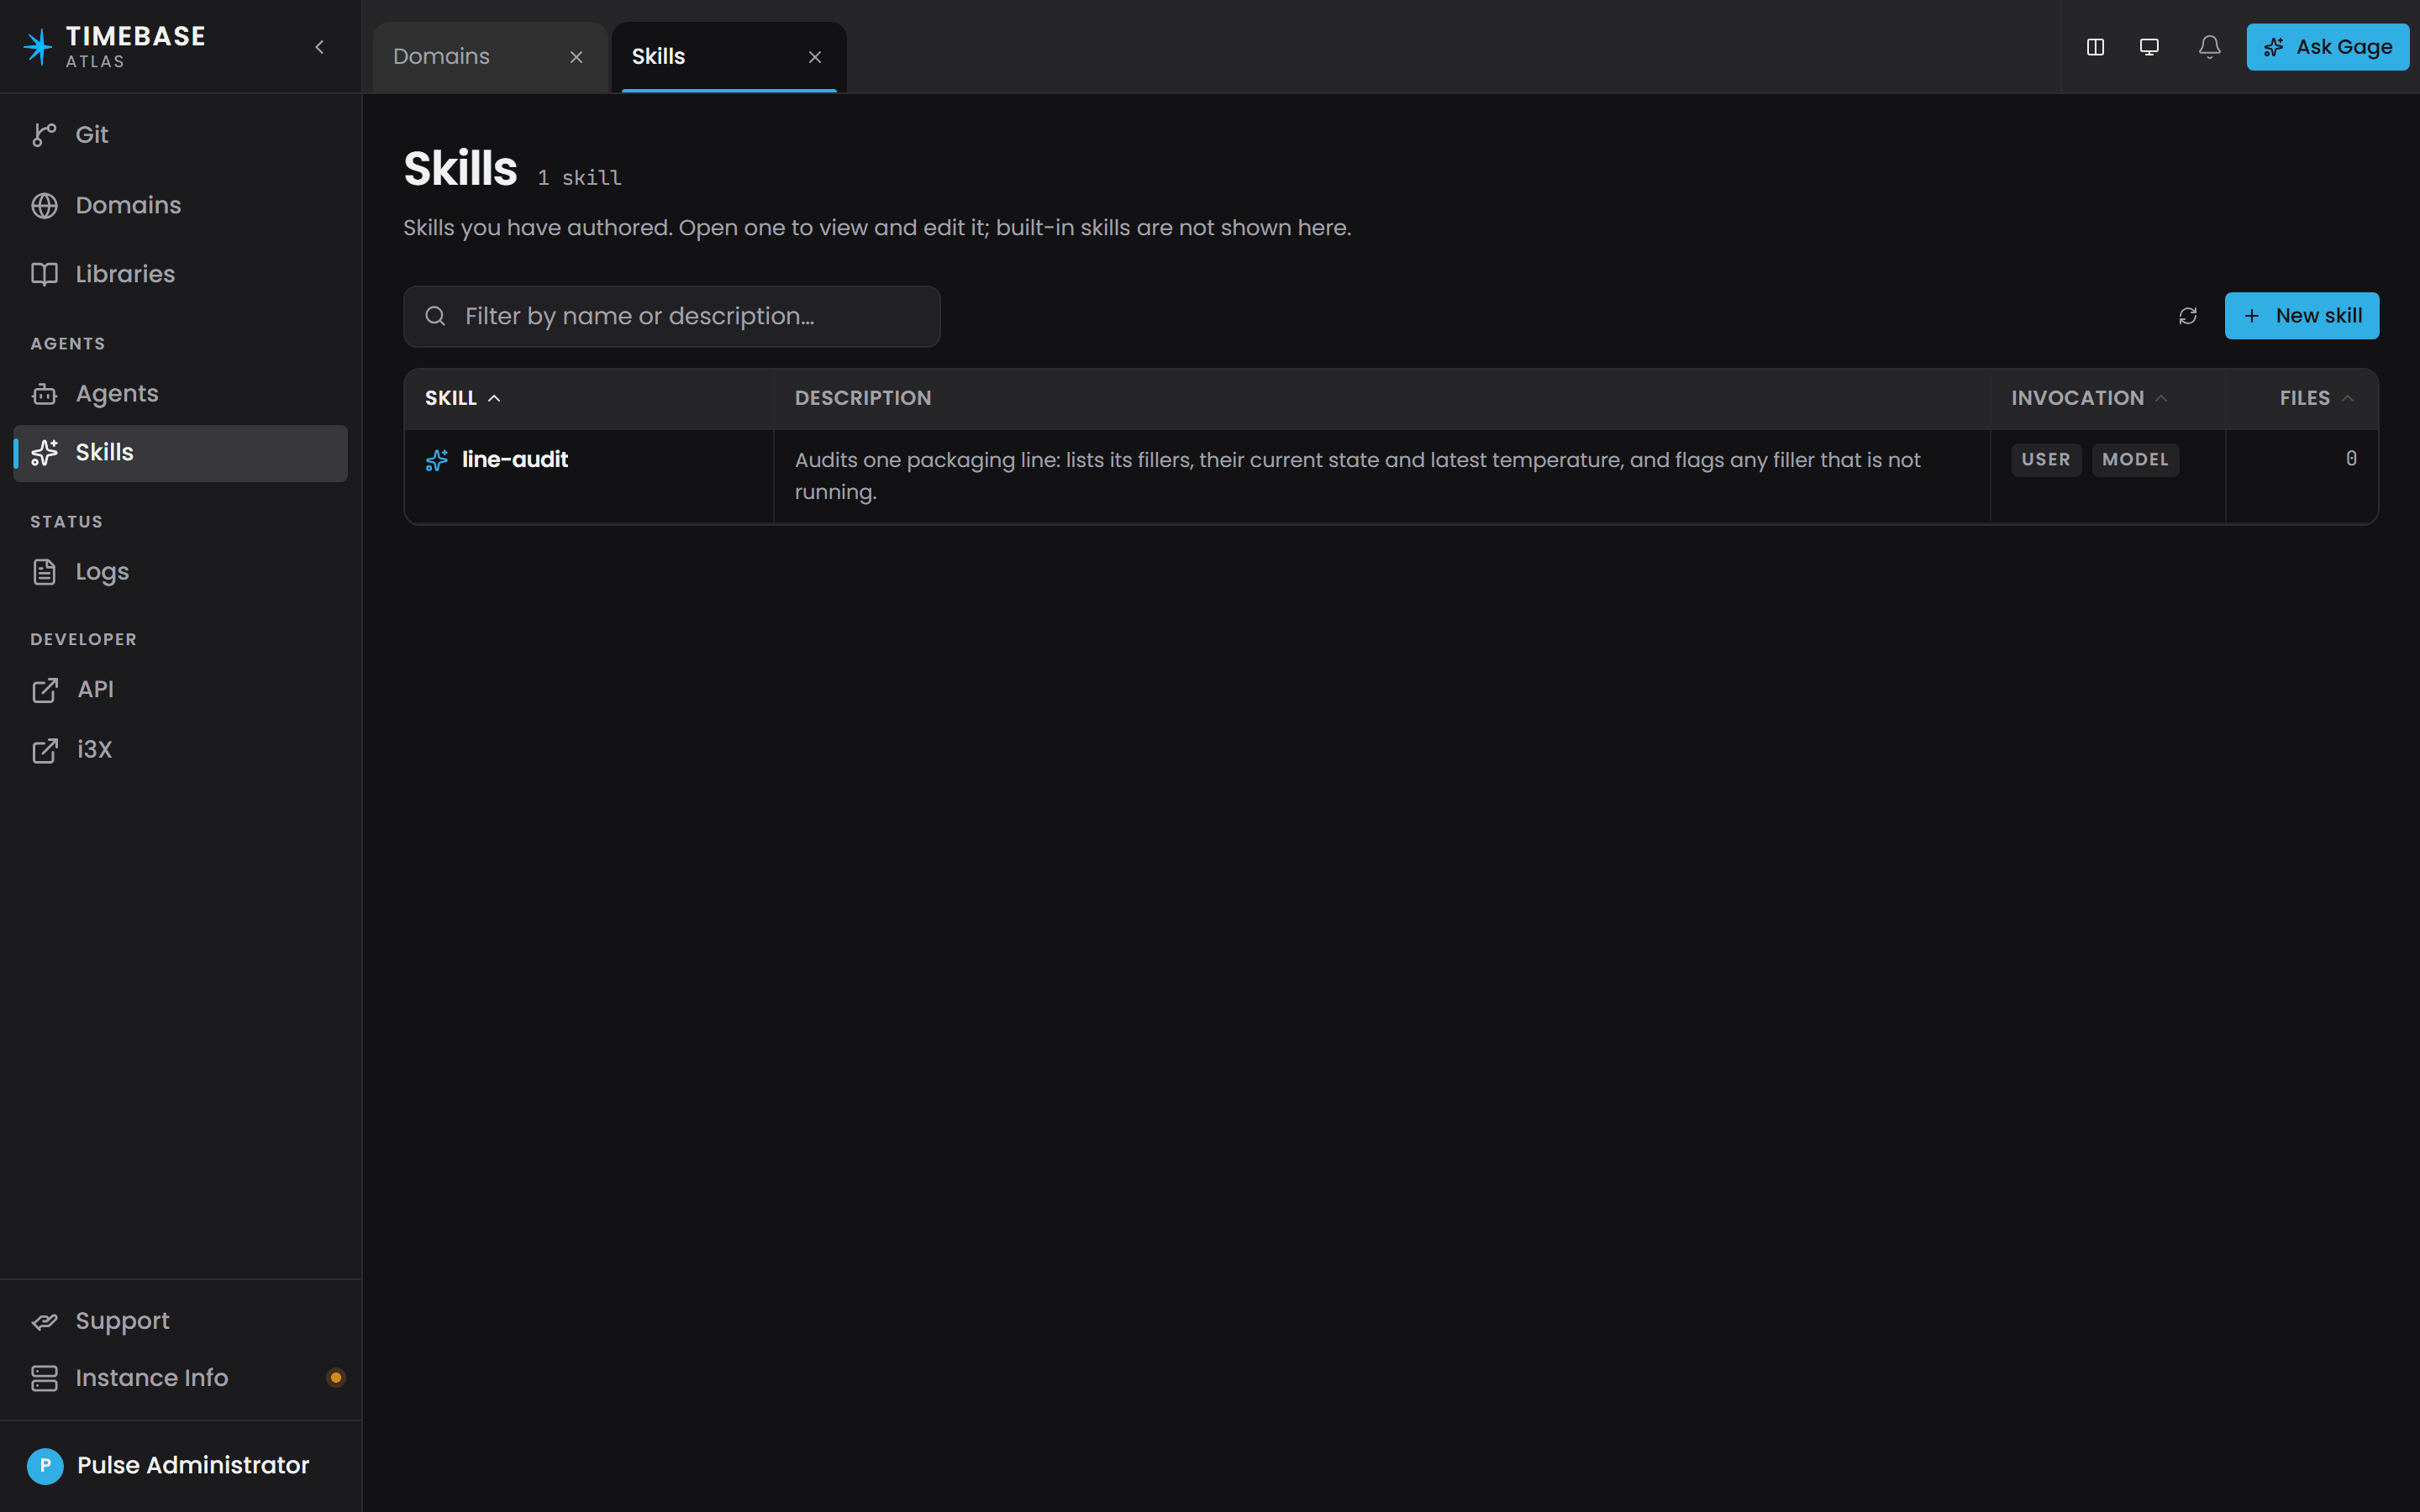
- In the Atlas sidebar, open the Agents group and select Skills. The page opens with the heading Skills and the description "Skills you have authored. Open one to view and edit it; built-in skills are not shown here." The grid lists each authored skill with its description, how it may be invoked and how many reference files it carries.
- Select New skill.
- Enter a name. The name must be lowercase letters, numbers and hyphens only, and it must start with a letter or a number, for example
cesmii-importorline-audit. The name is permanent: it is the folder the skill lives in, and it is what you type when you ask the assistant to run it. - Fill in Description. The hint under it reads "What this skill does and when Gage should reach for it", and that is exactly the job of this field: it is the only thing the assistant sees when it is deciding which skill fits your request, so write it for that audience. One line.
- Write the instructions on the Instructions tab. The Form tab holds the settings, and the Raw tab shows the whole file as text. Write the instructions the way you would brief a capable colleague: numbered steps, what to ask the user, where to stop and check, and what the finished result should look like. The instructions are markdown.
- Set the three switches to record how the skill is meant to be used: Users can invoke this directly, Gage can use this on its own, and Runs in its own isolated context. The first of these appears as a label in the assistant's list of skills.
- Under Tool access, choose the tools the skill expects to use, or leave it on Inherit from the invoking agent. This records what the skill expects; set enforceable limits on the agent.
- Select Create. The skill opens as its own tab, and the change takes effect immediately, on the next request. No restart is needed.
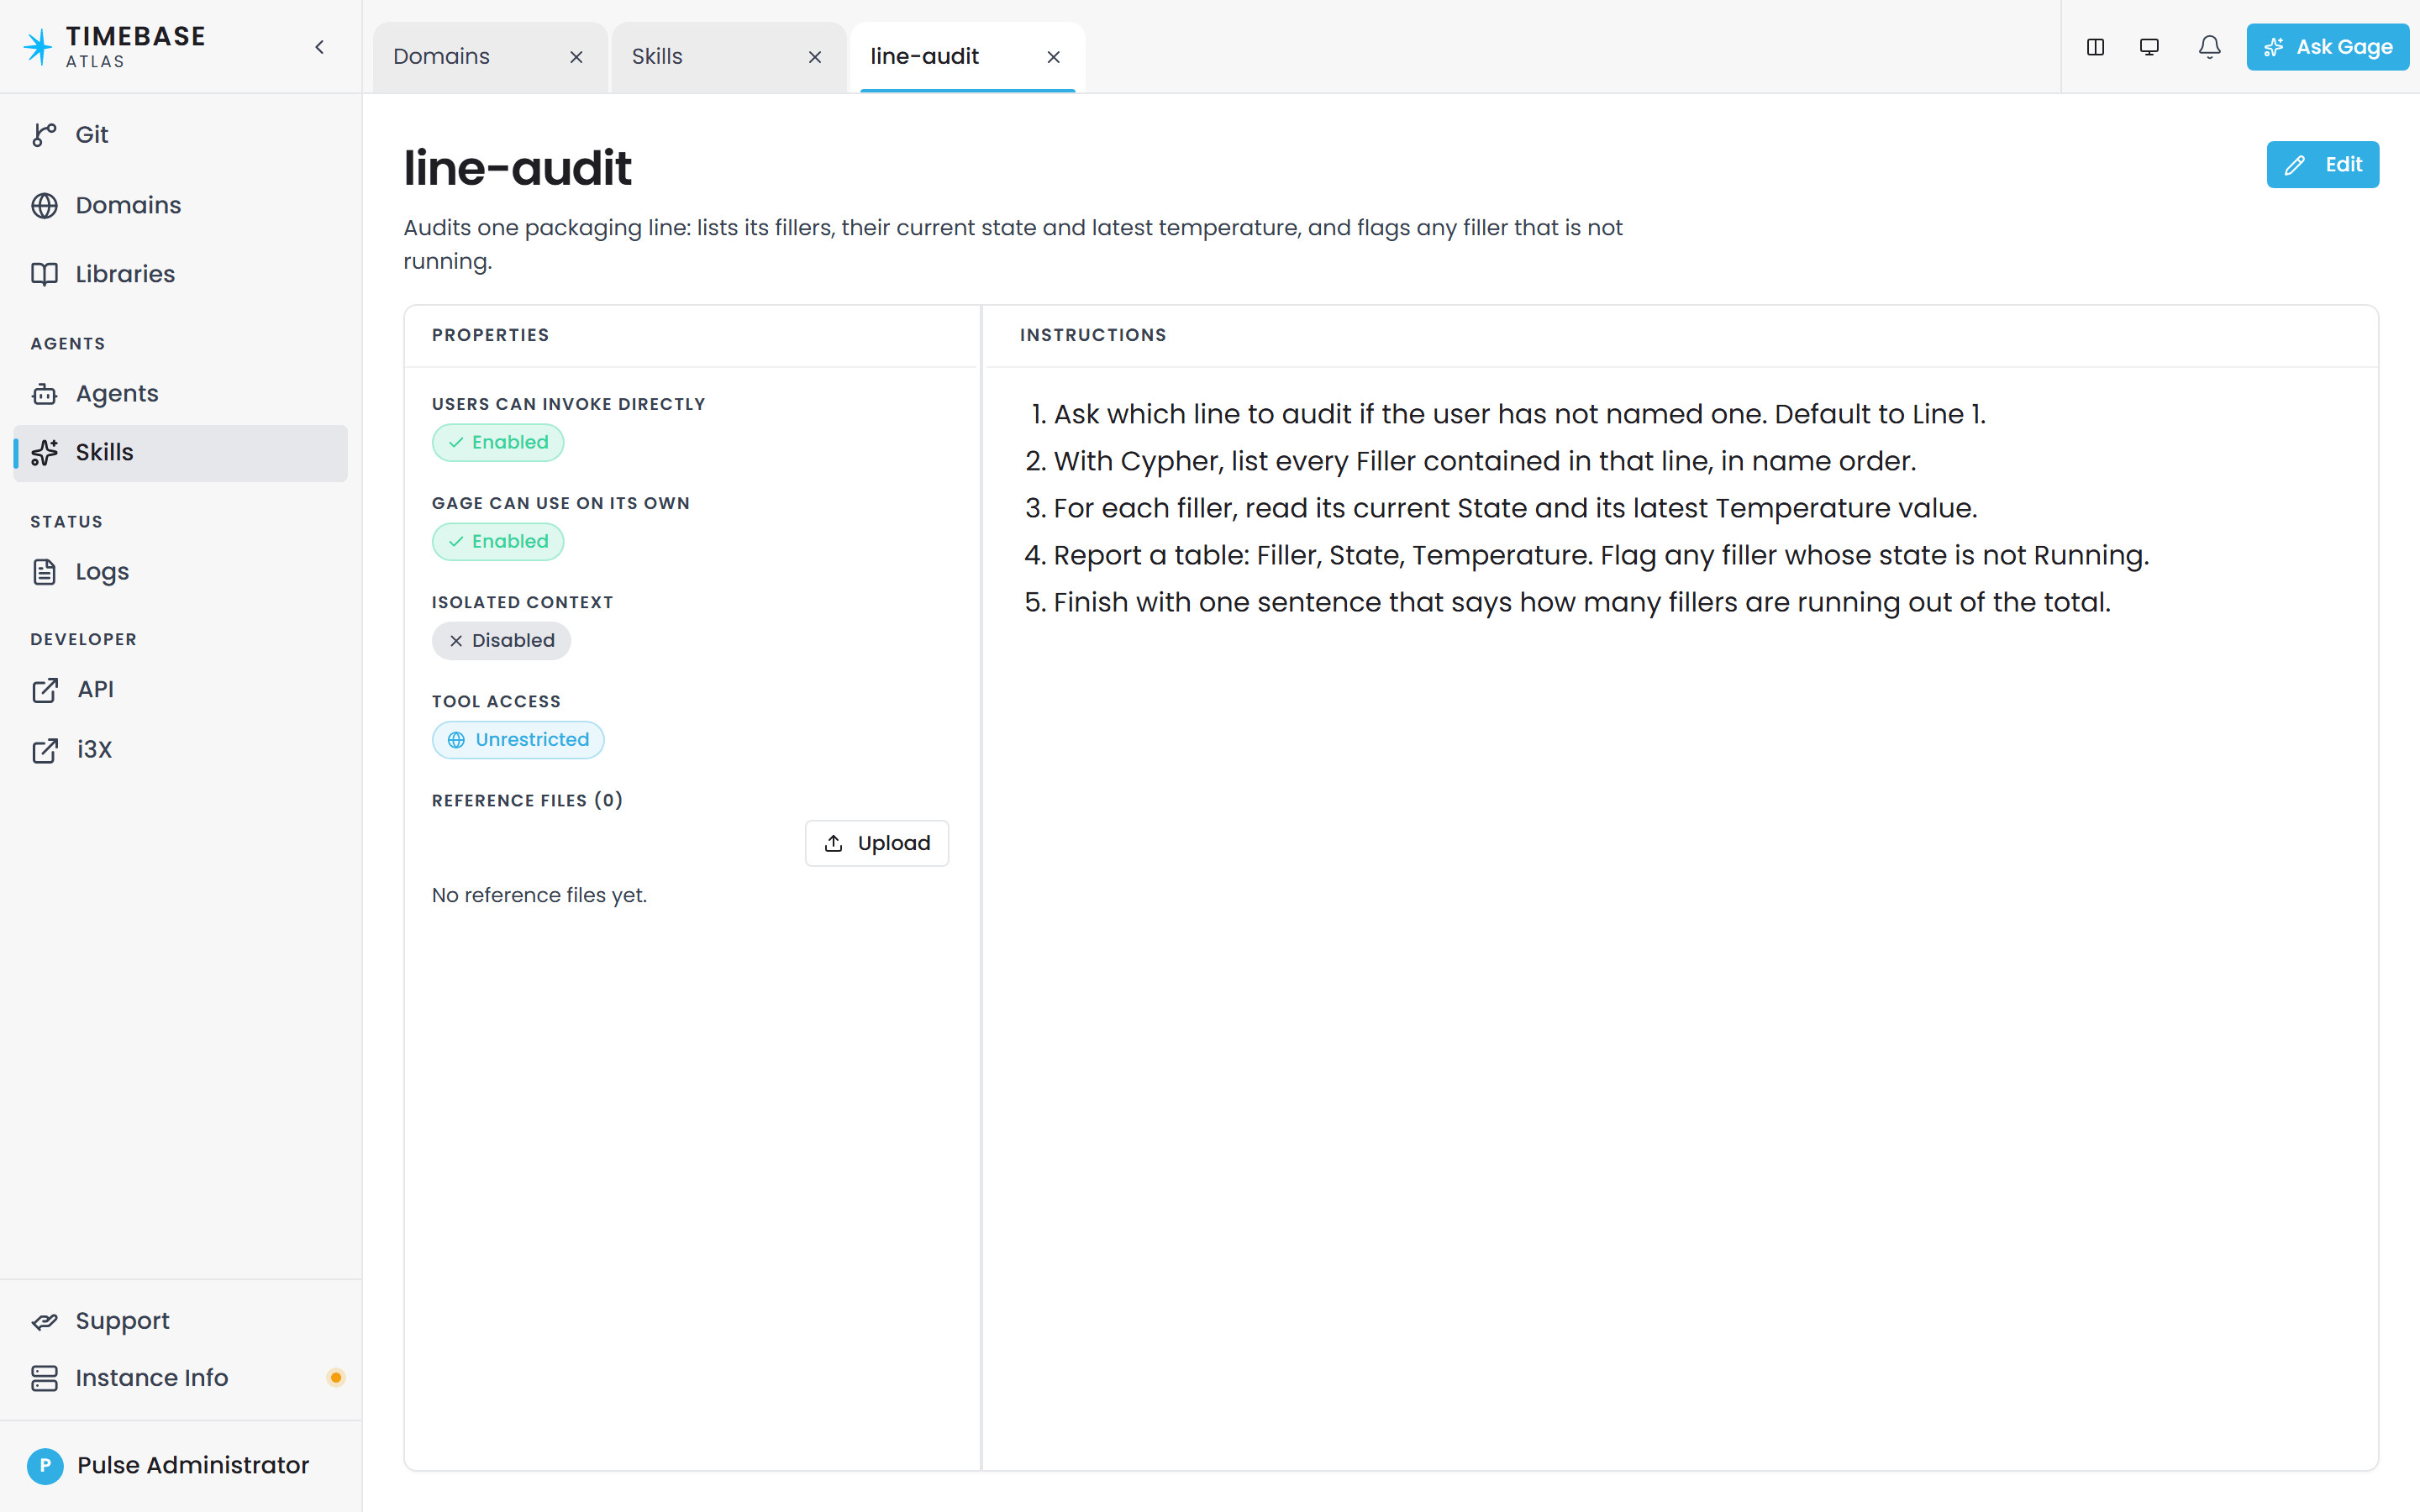
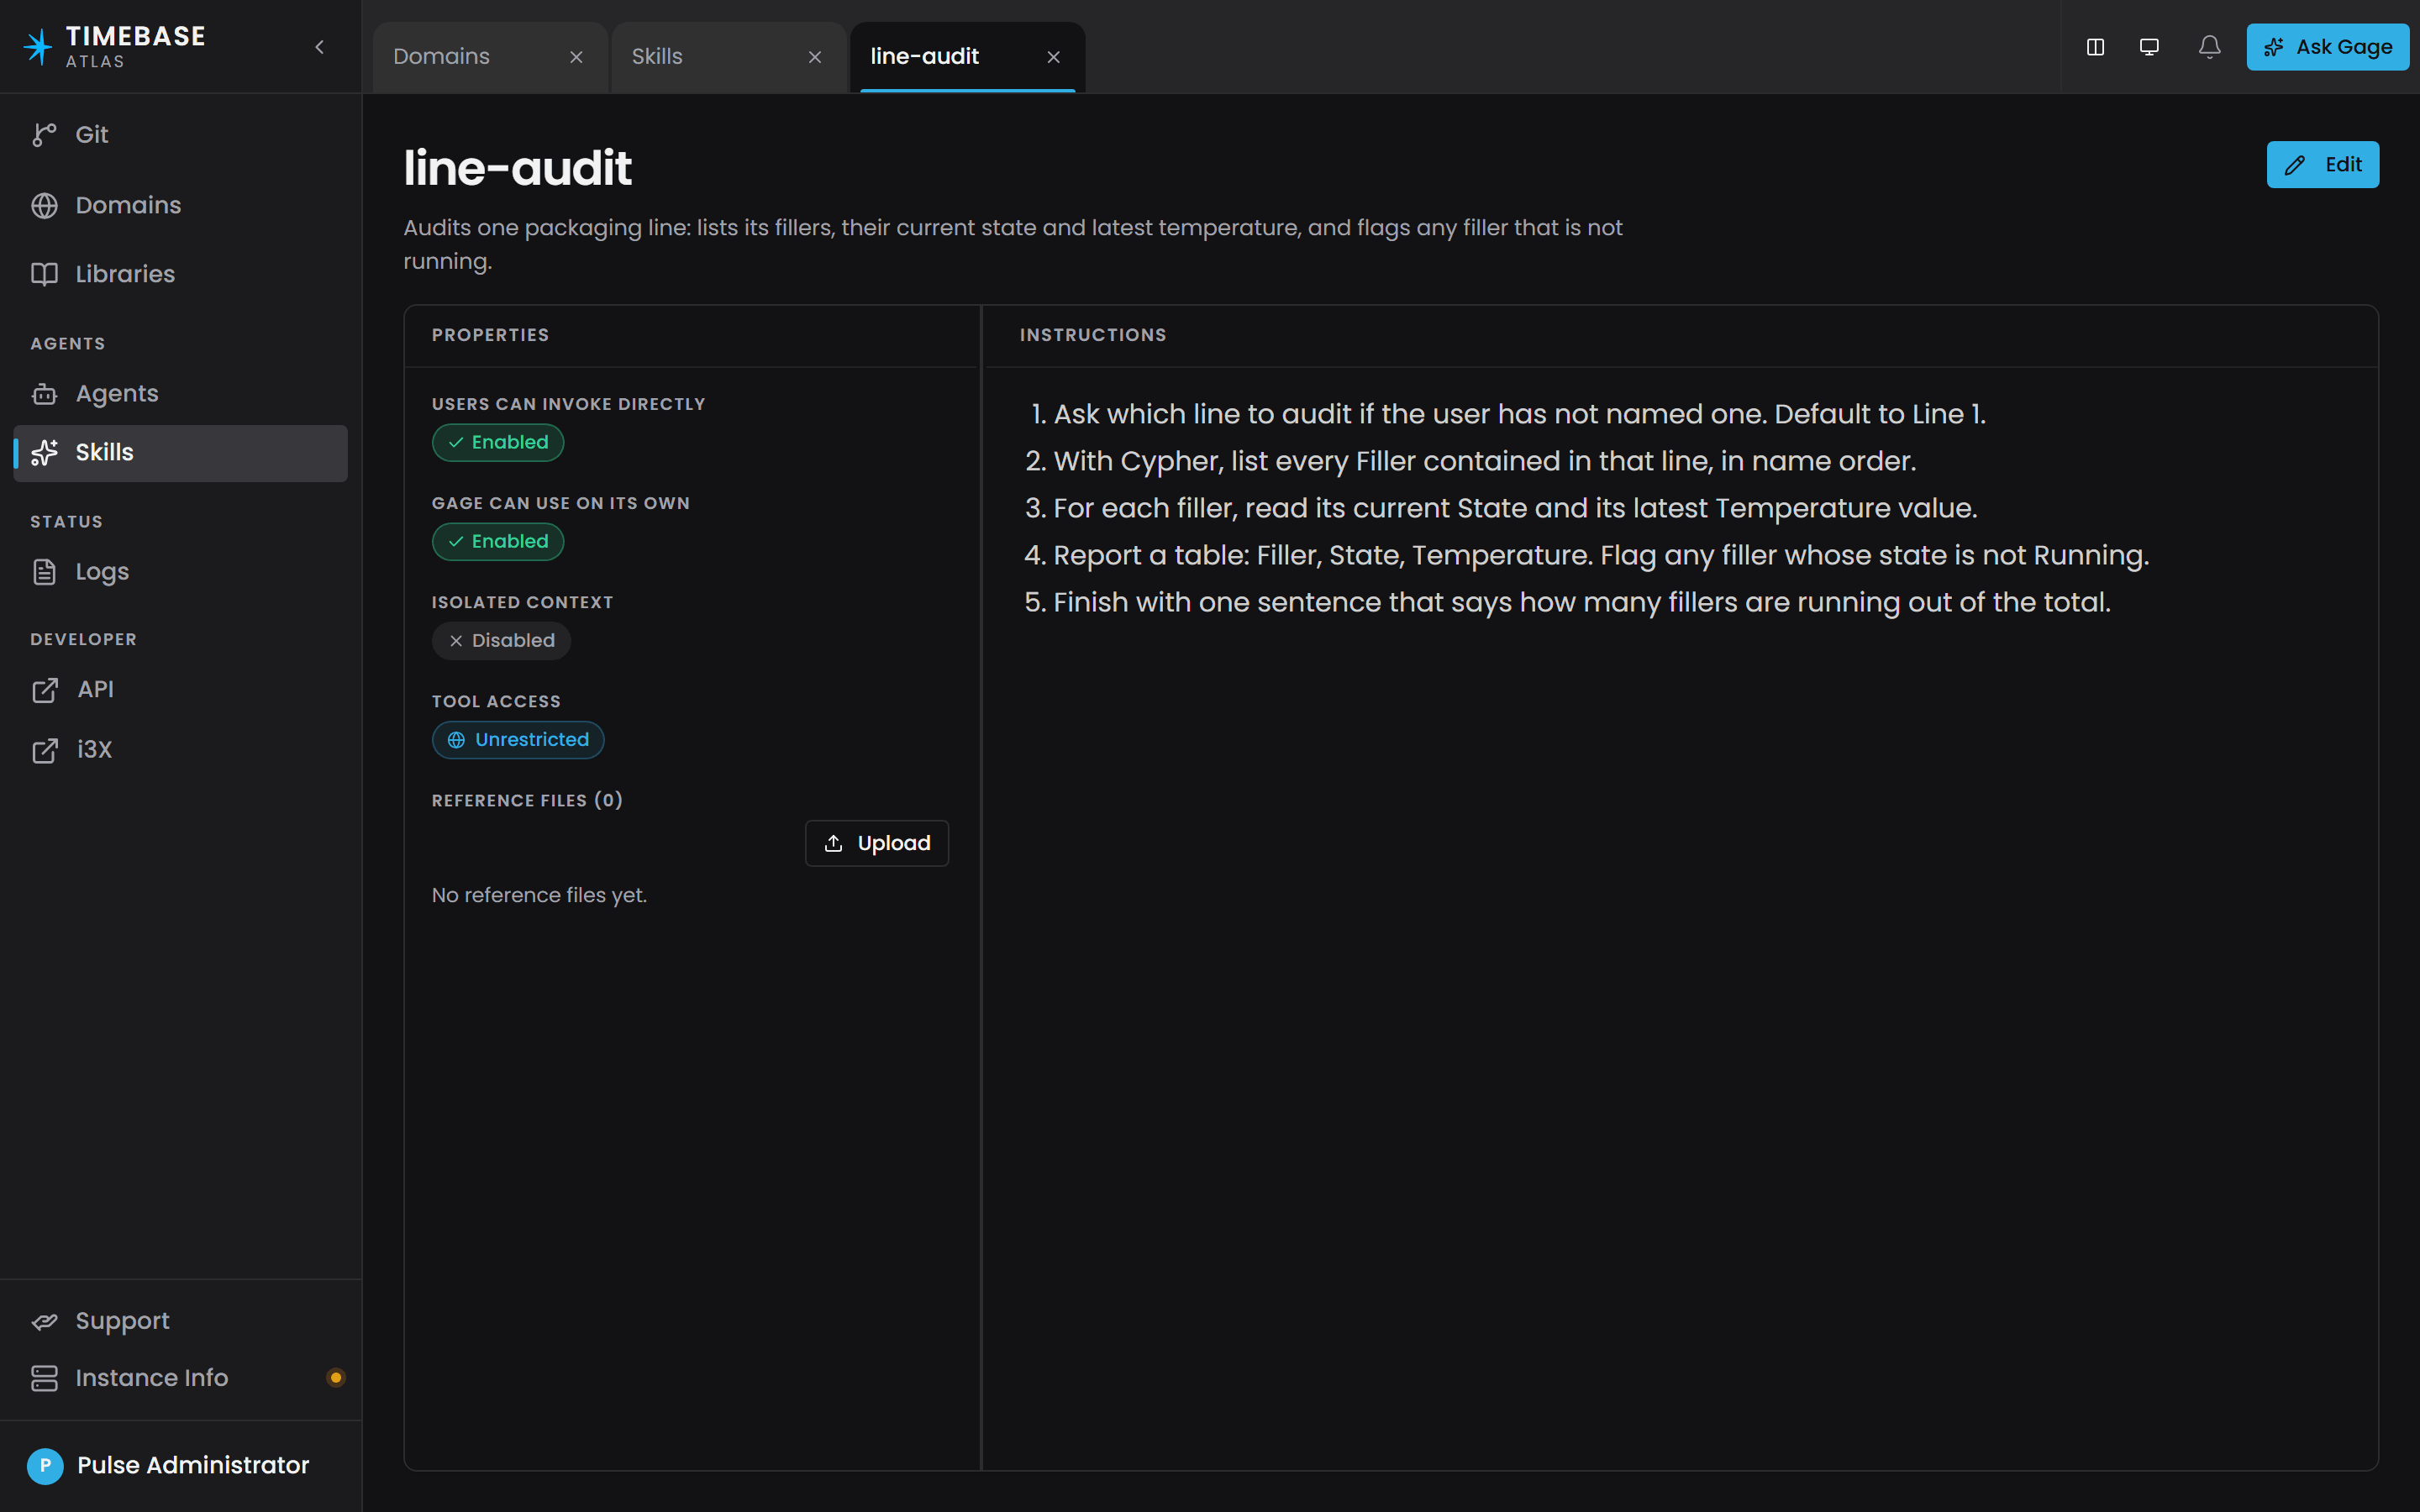
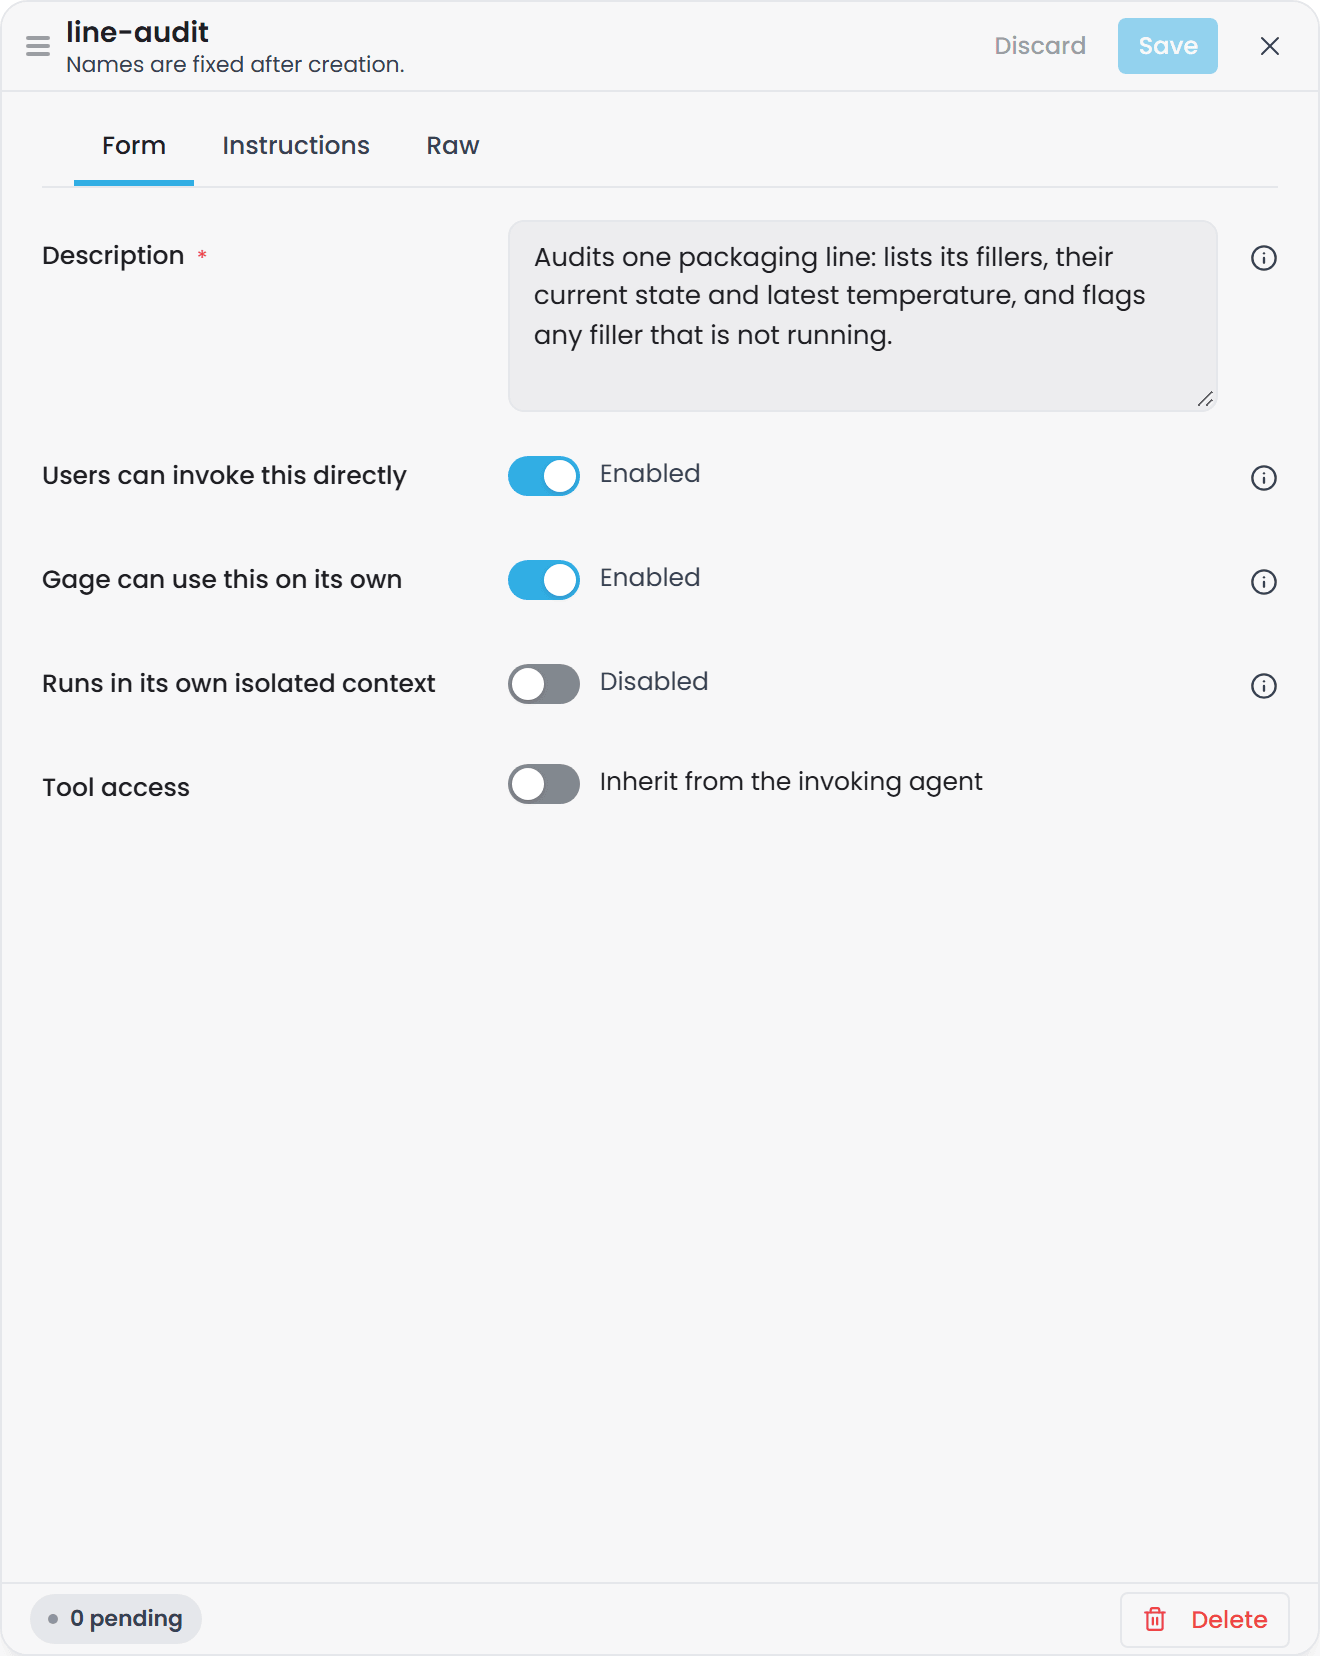
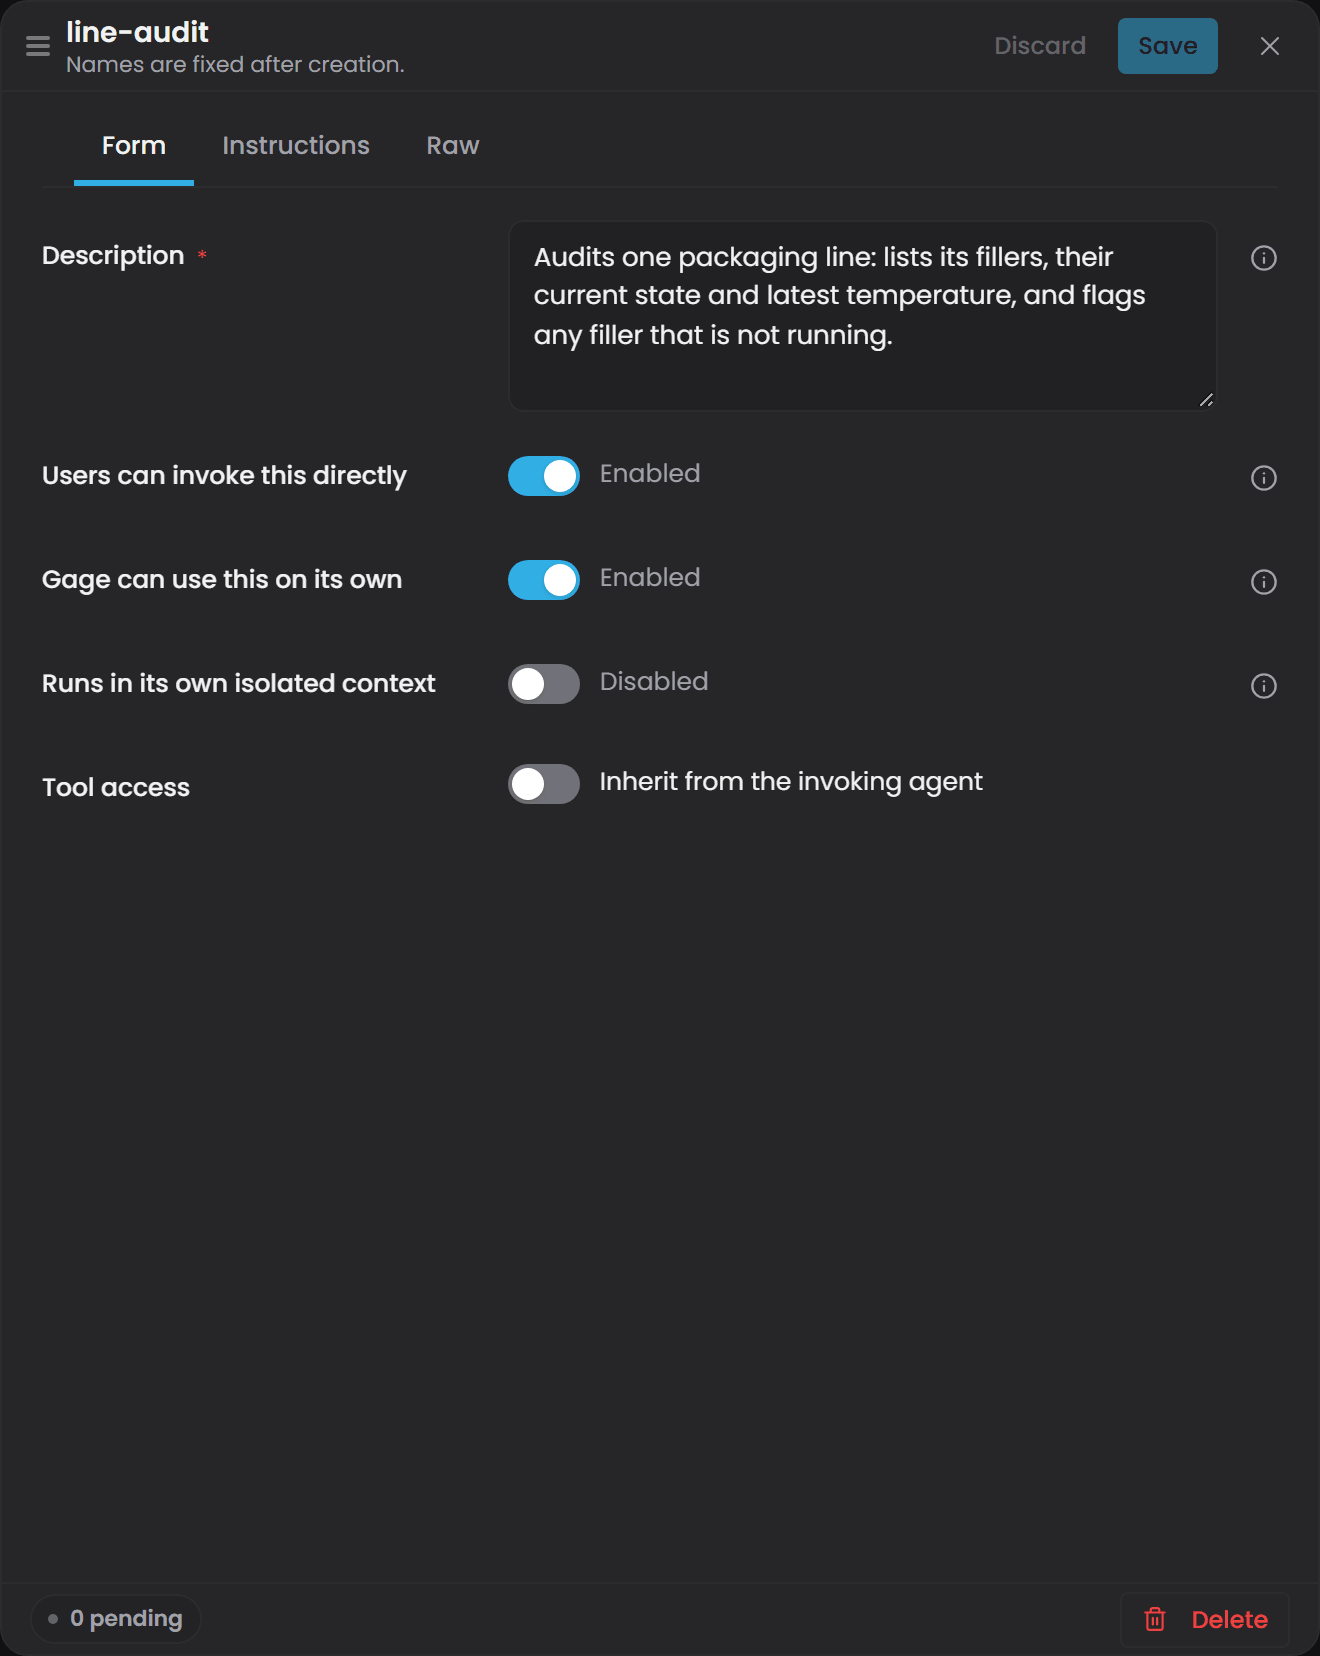
skills are held outside the model's Git repository, so they do not appear on the Git Management page and carry no history. Keep your own copy of any set of instructions you rely on before you change it.
If you switch to another skill with unsaved edits in progress, Atlas asks "You have unsaved changes to this skill. Discard them and switch?" Answering yes loses the edits.
To remove a skill, open it, select Edit, and use Delete at the foot of the editor. Atlas asks you to type the skill name to confirm, and tells you whether other files will be deleted with it. The whole folder goes.
Attach Reference Files#
A skill can carry supporting files: a lookup table it should consult, a specification it should follow, or a script it should run. On the skill's page, use the Reference files section and its Upload button. Before you upload anything the section reads "No reference files yet."
The rules Atlas enforces on an upload:
- Maximum 10 MB per file. A larger file is rejected with "File '<name>' exceeds the 10 MB per-file limit."
- Only these file types are accepted. Documents and data:
.md,.txt,.json,.csv,.xml,.yaml,.yml,.pdf. Scripts:.py,.sh,.js,.ps1. Anything else is refused, and the message names the extension you tried. SKILL.mdis reserved. It is the skill's own instruction file and cannot be uploaded or deleted as a reference file.- If any one file in a batch fails, none of the batch is kept.
Files with one of the four script extensions are marked as executable in the list, because the assistant can run them. Everything else is a document.
uploading a script gives the assistant the ability to run code on the Atlas server, within the host process's own privileges and the script's timeout. The file type list and the size limit are there to keep uploads tidy rather than to bound what a script can do. Treat access to the Skills page as equivalent to the ability to run programs on the Atlas server, and grant the Pulse administrator role accordingly.
Attaching a file does not put it in front of the assistant. The assistant is given the skill's instructions and nothing else, so if a reference document matters, your instructions must say what it is called and what to do with it. A script is run by name from the skill's own folder, with a default limit of 60 seconds before it is stopped. A plain document has no automatic reader, and the assistant's ordinary file tools are usually blocked from opening it (see Troubleshooting).
Where Skills Live on the Server#
You do not need this to use the Skills page, but it helps when diagnosing a deployment.
- Built-in skills ship with the Atlas program files, in a
skillsfolder next to the Atlas binary. - Skills you author are written to a
skillsfolder under the AtlasConfigpath. In Docker the platform Compose file setsConfig=/atlas/config, so they live in/atlas/config/skills. Each skill is one folder, named after the skill, containing aSKILL.mdfile plus any reference files.
A folder only counts as a skill if it contains a SKILL.md file with a frontmatter block at the top.
agents live in {Config}/agents and skills in {Config}/skills, where Config is the Atlas store path. In Docker the platform Compose file sets Config=/atlas/config. A relative Config value is anchored to the install directory rather than the working directory.
Troubleshooting#
-
The Skills page is empty, and the assistant knows about
model-domain- The page lists the skills you have authored. The five built-in skills are always available to the assistant and are not listed there. Create a skill of your own for it to appear. -
"Skill name must be lowercase letters, numbers, and hyphens only." - The name contains a capital letter, a space, an underscore or a symbol, or it starts with a hyphen. Use only lowercase letters, numbers and hyphens, starting with a letter or a number:
line-audit, notLine Auditorline_audit. -
"'<name>' is a built-in skill and cannot be used for a new skill. Choose a different name." - You have tried to create a skill called
model-domain,create-domain,explain-ontology,create-agentorcreate-skill. Shipped skills cannot be overridden or shadowed. Pick another name. If you want a variation on a built-in skill, copy its approach into a skill with a new name. -
"Skill '<name>' already exists." - You already have a skill with that name. Open the existing one and edit it, or choose a different name.
-
A file upload is rejected - Either the file is over the 10 MB per-file limit, or its type is not on the accepted list. Accepted types are
.md,.txt,.json,.csv,.xml,.yaml,.yml,.pdf,.py,.sh,.jsand.ps1. A file namedSKILL.mdis always refused, because that name is reserved for the skill's own instructions. Note that if one file in a batch is rejected, the whole batch is rolled back, so re-upload the good files after fixing the bad one. -
The assistant says it cannot run the skill's script, or cannot make changes - Scripts, shell access and file access in Atlas all require the Pulse administrator role. A signed-in user without that role does not get those tools at all, so the assistant reports that those tools are not available to it. Ask an administrator to run the skill, or to grant the role.
-
The assistant will not open a reference document you attached - By default the assistant's file tools are confined to the current chat session's own working folder, and a skill's folder is not in that set. Attaching a document does not make it readable. Either paste the content into the skill's instructions, or convert the work into a script, which is run from the skill's own folder and is not subject to that confinement. An administrator can widen the allowed folders with the
Pulse:Gage:Guardrails:AdditionalAllowedRootssetting, but that grants broad file access and should be a considered decision. -
You edited a
SKILL.mdfile on the server and nothing changed - Only edits made through the Skills page take effect straight away. A file changed or dropped in by hand on the server is picked up at the next Atlas restart. -
A skill you removed keeps appearing - The assistant reads its skills at startup, so restart Atlas after removing a skill file by hand. Skills removed through the Skills page take effect immediately.
-
The assistant does not offer skills at all - Skills reach an agent only through its skill tools. Of the built-in agents,
gageandcuratorcarry them; the modelling specialists do not. Also confirm the AI features are configured: Atlas needs authentication enabled and the Pulse Gage service reachable before any agent is offered. See Atlas AI Assistant for the prerequisite checklist.